Hi!
Hi!
My name is Daria. I live in Russia
I teach my own classes in scrapbooking and mixed-media in my city and another cities of my country. And I’m one of the owners of the Russian Scrapbooking magazine “Scrap-Info”.
I love Sizzix products and I’m very happy to be a part of the Sizzix Design Team.
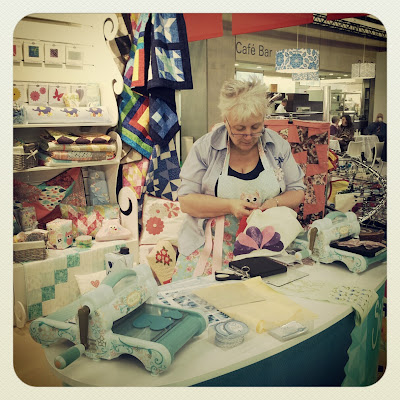
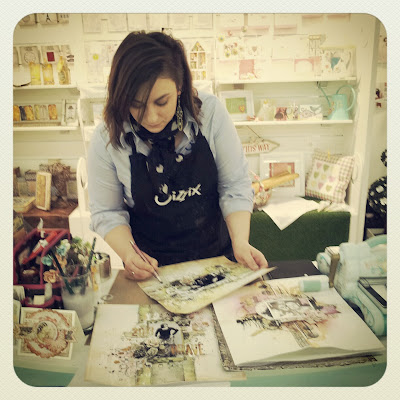
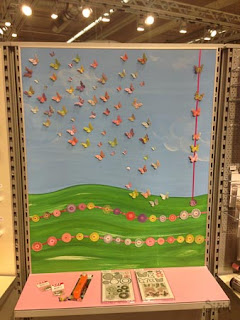
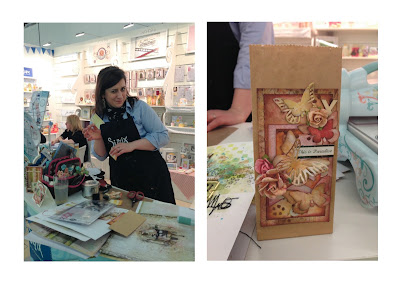
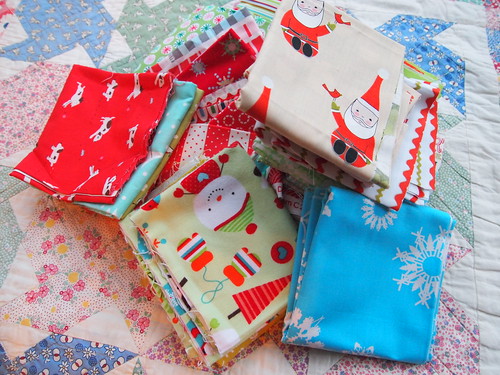
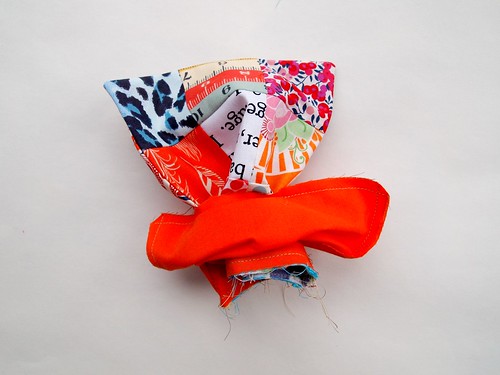
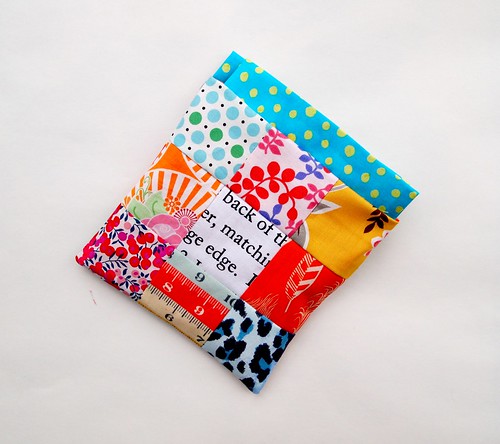
These are some of my previous projects using Sizzix products.
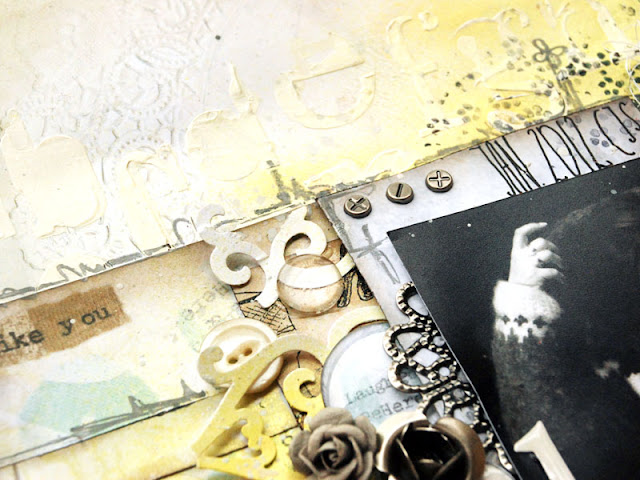
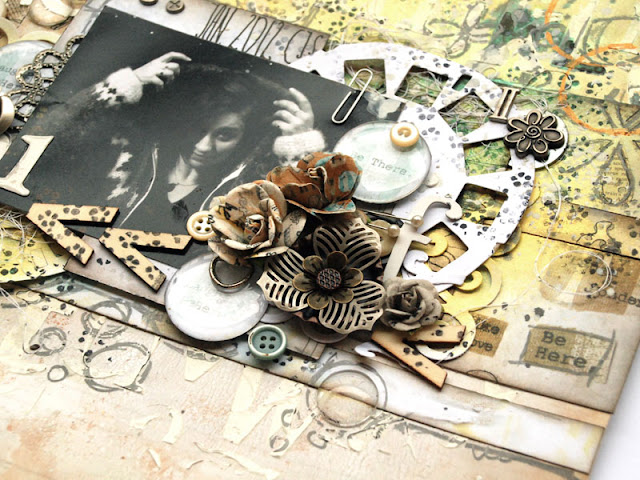
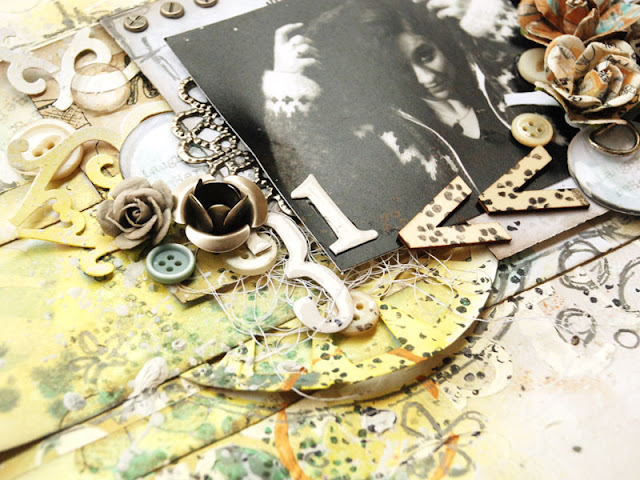
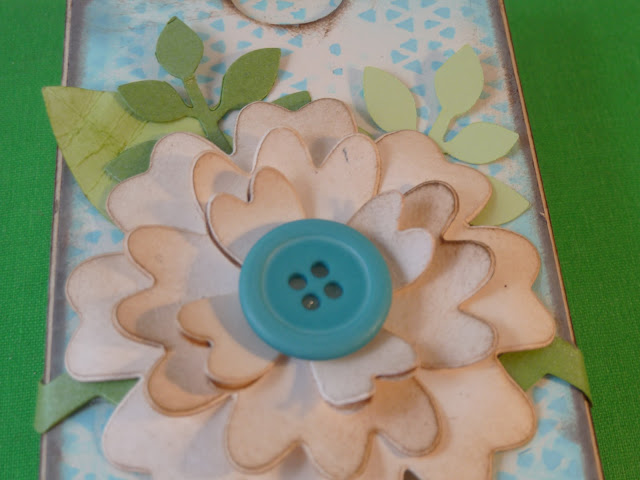
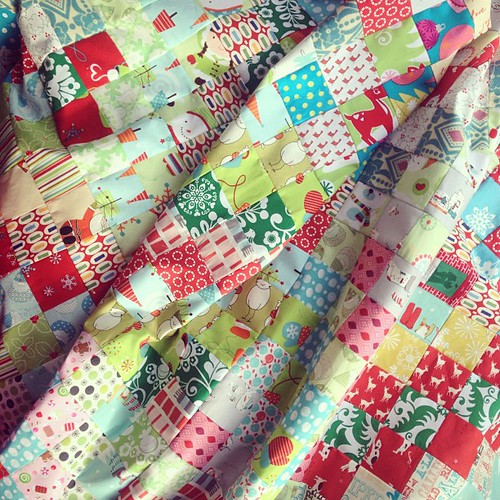
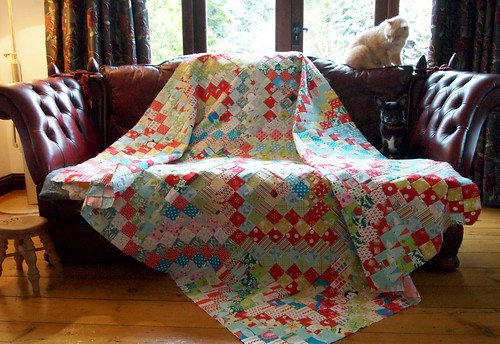
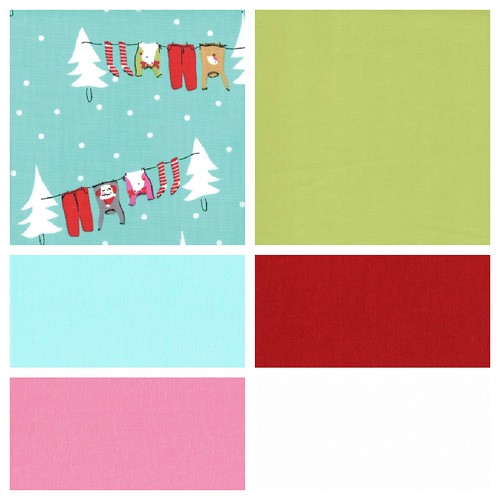
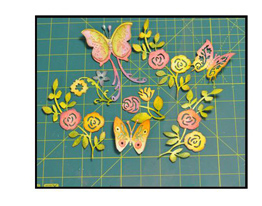
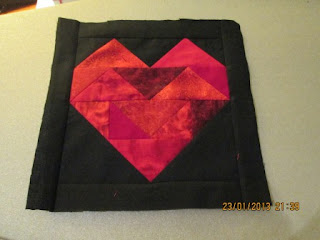
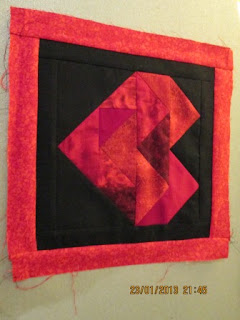
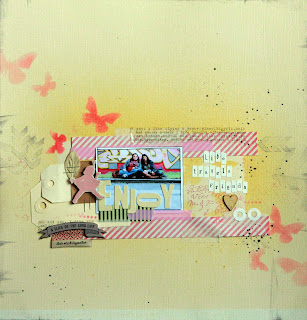
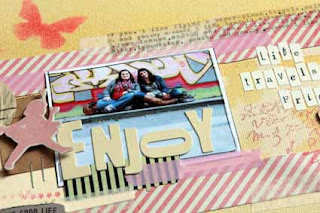
Scrapbook layouts


Note for my daughter. She loves owls. And this owl is very cute.

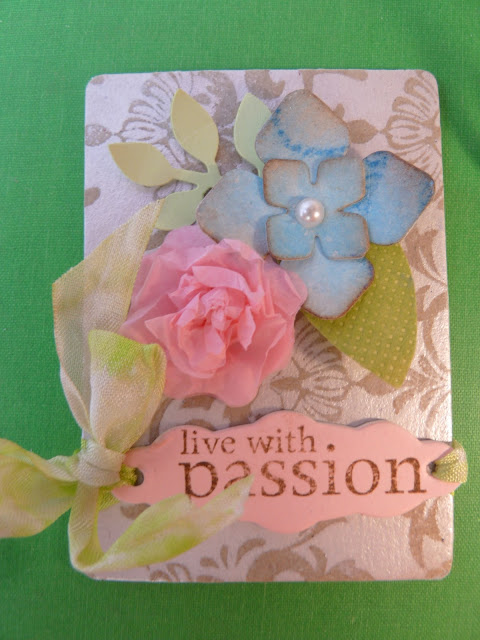
Card

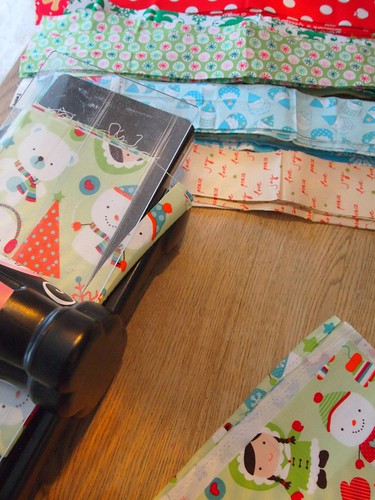
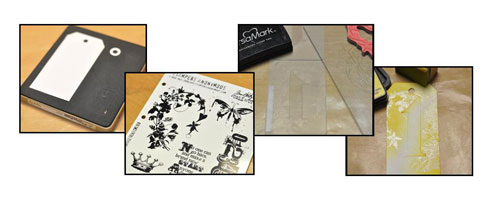
Advent calendar

And today I show you my new card – Butterfly Card.
Items used:
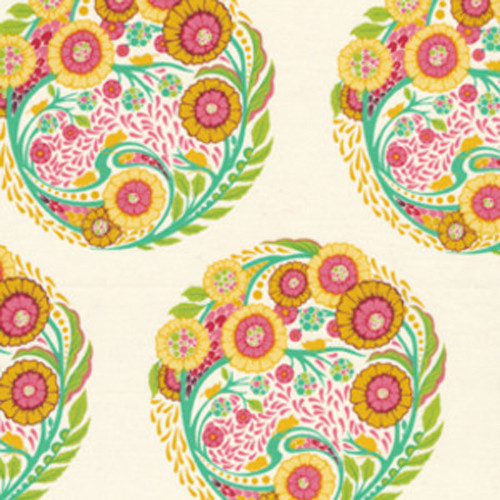
Echo Park papers – Victoria Gardens (6x6 paper pad)
Webster’s Pages bloomers – Celery, Candy Pink
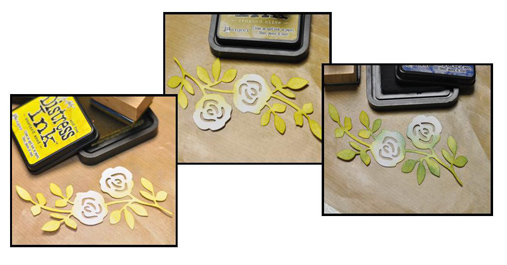
Versa Magic ink – Pink Grapefruit
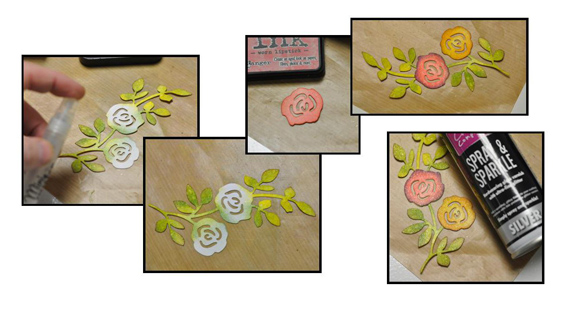
Liquid Pearls – Petal Pink
White cardstock
2x small white adhesive pearls

How to make:
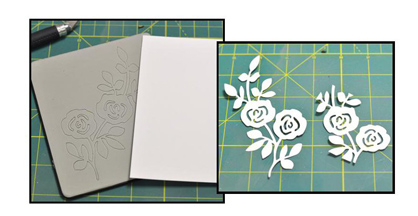
- Fold a piece of white card in half to create a base card of 15x15cm. Cut a piece of striped paper to the same size and glue to the front. Round the right corners and ink the edges.
- Cut a piece of the pink paper 13x13cm and round the right corners. Ink the edges. Glue this piece to the left side of the card.
- Cut a scallop square from white cardstock using Scallop Square Framelits Dies. Glue to the centre of the pink paper.
- Stamp text above the white scallop square.
- Use liquid pearls on the edges of the pink square. Wait until it dry.
- Cut a butterfly using the Butterfly Die. Glue all the butterfly details together. Glue the butterfly to the centre of scalloped square.
- Glue the bloomers on to the butterfly’s body.
- Use liquid pearls on the edges of the butterfly’s wings. Add two white pearls to the butterfly’s horns.

I hope you liked this.
Daria.
Здравствуйте!
Меня зовут Дарья. Я живу в России со своим мужем и дочкой Эвелиной.
Я люблю создавать странички и открытки, делать проекты миксд-медиа, и раскрашивать. Я провожу мастер-классы в своем городе и других городах своей страны. Так же я одна из основательниц первого российского журнала по скрапбукингу - "Скрап-Инфо".
Я очень люблю продукцию Sizzix. И я очень рада быть частью этой замечательной дизайн-команды.
Выше я показала некоторые из своих ранее сделанных проектов, с использованием продукции Sizzix. А затем совсем новую открытку созданную специально для этого блога.
Материалы, которые я использовала для создания этой открытки:
Бумага Echo Park – коллекция Victoria Gardens (набор 15х15 см)
Цветочная лента Webster’s Pages – цвета Celery и Candy Pink
Чернила Versa Magic – цвет Pink Grapefruit
Жидкий жемчуг – Petal Pink
Белый кардсток
2 маленькие белые самоклеющиеся жемчужинки
И инструкция по ее созданию на русском языке.
- Сложите белый кардсток пополам так, чтобы у вас получилась основа для открытки размером 15*15 см. Отрежьте полосатую бумагу из набора такого же размера и приклейте ее на лицевую часть открытки. Скруглите правые углы и затонируйте края.
- Отрежьте кусочек розовой бумаги размером 13*13 см. Скруглите правые углы и затонируйте края. Приклейте, выровняв этот кусочек по левой стороне.
- Вырежьте ажурный квадрат используя 2 ножа из набора Scallop Square Framelits Dies. Приклейте этот квадрат по центру розовой бумаги.
- Отштампуйте текст над ажурным квадратом.
- Поставьте точки жидким жемчугом по периметру розовой бумаги. Чтобы не смазать в процессе дальнейшей работы, дождитесь, чтобы они высохли.
- Пока точки сохнут, вырежьте бабочку, используя Butterfly Die. Склейте все ее детали. Затем приклейте бабочку в центр ажурного квадрата.
- Приклейте цветочную ленту на тело бабочки.
- Поставьте точки жидким жемчугом по периметру деталей бабочки и приклейте 2 жемчужины на ее усики.
Открытка готова! Она не очень сложная, но выглядит свежей и очень милой! Надеюсь вам понравится!
Дарья.


")
")
")
")
")


.jpg)


")
")
")
")
")