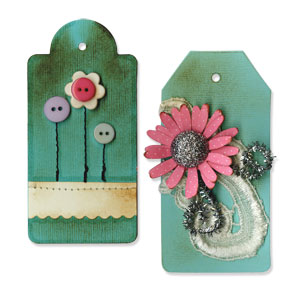
Don't you love flowers? I love to put flowers in my works ... and hearts ... and butterflies ... But sometimes it's hard to put a flower in a winter craft.
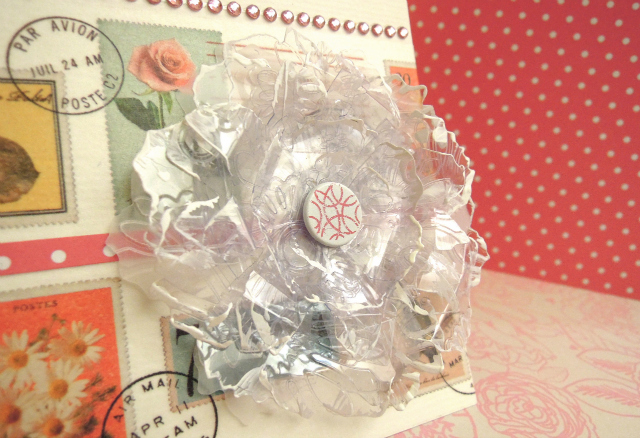
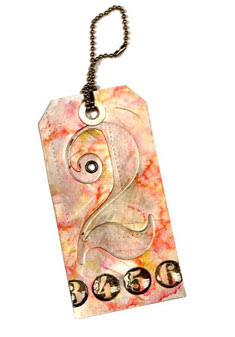
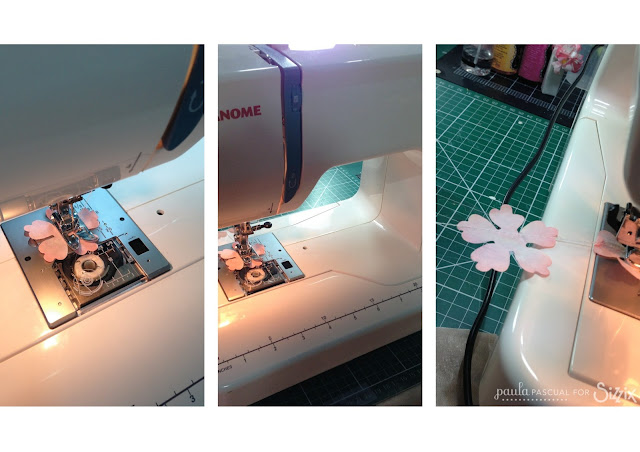
This 3D acetate and vellum flower is ideal for a winter project, because it reminds the ice or glass, and also as acetate maintains its shape once molded, it is ideal for decorating objects or put it on minialbums covers .
Supply list:
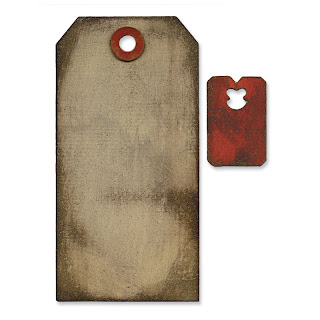
- 655268 Sizzix Big Shot machine
- 656640 Sizzix Bigz Die- Tattered Florals
- 658298 Sizzix Textured Impressions Embossing Folders 2PK- Butterflies & Flowers set
- Paper: Canson, acetate, vellum, scraps
- Ink: Memento Tuxedo Black
- Stamps: TPC Studio
- Adhesives: Glue Dots, Glossy Accents
- Others: Washi Tape, brad, white acrylic paint, pink rhinestones
Today's tutorial is in video format. If you know my blog will know that it is a format that I really like, because it is very clear and dynamic, so watch and enjoy :)
¡Happy Monday!
................
¿No os encantan las flores? A mí me encanta poner flores en mis trabajos... y corazones... y mariposas... Pero a veces me resulta difícil poner una flor en una manualidad de invierno.
Esta flor de acetato y papel vegetal es ideal para los trabajos de invierno, porque recuerda el hielo o el cristal, y además, como el acetato mantiene su forma una vez moldeado es ideal para adornar objetos o ponerla en las tapas de los miniálbums.
Materiales:
- 655268 Sizzix Big Shot machine
- 656640 Sizzix Bigz Die- Tattered Florals
- 658298 Sizzix Textured Impressions Embossing Folders 2PK- Butterflies & Flowers set
- Papel: Canson, acetato, papel vegetal, restos
- Tinta: Memento Tuxedo Black
- Sellos: TPC Studio
- Adhesivos: Glue Dots, Glossy Accents
- Otros: Washi Tape, brad, pintura blanca, brillantitos rosas
Hoy el paso a paso viene en vídeo. Si ya conoces mi blog sabrás que es un formato que me gusta mucho, porque es muy claro y dinámico, así que dale al play y disfruta :)
¡Feliz lunes!
¡Feliz lunes!