Hi Sizzix fans! It's Anna posting today. I hope you had a great, creative week!
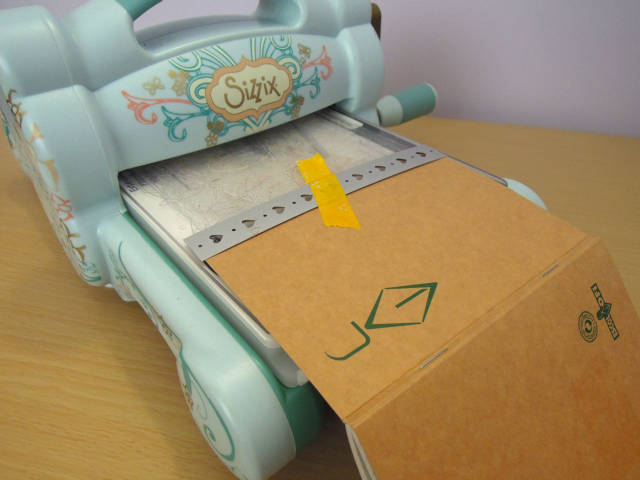
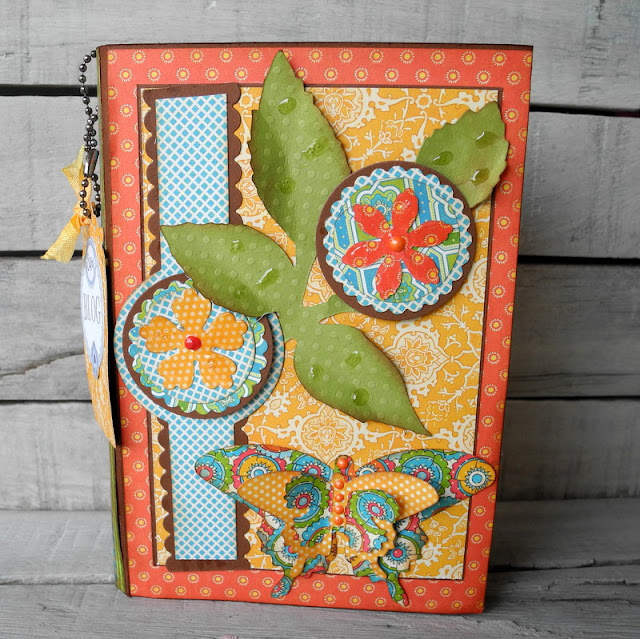
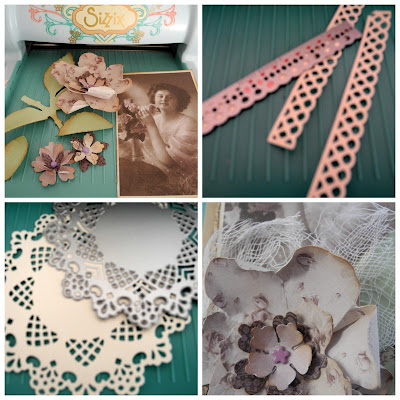
Once again I had fun with my Big Shot! Here is a mini album I realized specially for one of my online classes. I completed my mini using my favourite dies of the moment. I really like using Sizzix dies as embellishments in my mini albums!
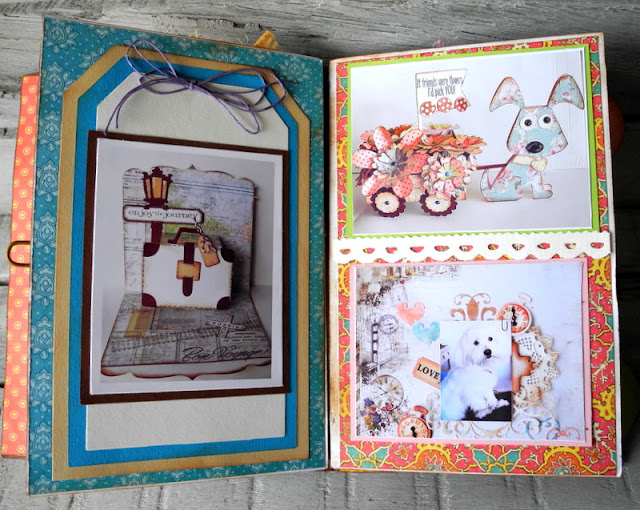
The theme of this mini book is a travel to Morocco. I created a mixed paper journal that holds all of my pictures, tickets, brochures, and other mementos...
The theme of this mini book is a travel to Morocco. I created a mixed paper journal that holds all of my pictures, tickets, brochures, and other mementos...
")
")
Items used:
Sizzix Big Shot Starter Kit (658300) machine + dies
Sizzix Thinlits Die Set 2PK - Doily & Doily Border #2 (659058)
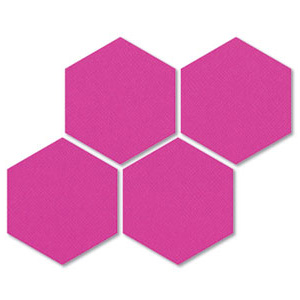
Sizzix Bigz Die - Estate by Prima Marketing Inc. (658527)
Sizzix Bigz Die - Tiny Tabs & Tags (657188)
Sizzix Framelits Die Set 8PK - Circles, Scallop (657552)
Sizzix Framelits Die Set 6PK w/Stamps – Banners (658289)
Sizzix Thinlits Die Set 2PK - Doily & Doily Border #2 (659058)
Sizzix Bigz Die - Estate by Prima Marketing Inc. (658527)
Sizzix Bigz Die - Tiny Tabs & Tags (657188)
Sizzix Framelits Die Set 8PK - Circles, Scallop (657552)
Sizzix Framelits Die Set 6PK w/Stamps – Banners (658289)
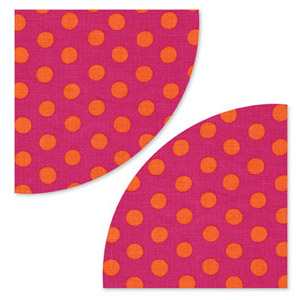
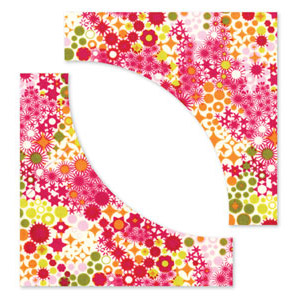
Sizzix Bigz Die - Elisse by Prima Marketing Inc. (658526)
Sizzix Bigz Die - Stars (656339)
Sizzix Movers & Shapers Die - Tag & Tie (657859)
Sizzix Bigz Die - Stars (656339)
Sizzix Movers & Shapers Die - Tag & Tie (657859)
cardboard
white acrylic paint
cardstock
patterned paper
tissue paper
scraps of glitter paper, felt
paper doily
washi tape
buttons
twine
journaling tag
stamps
sewing machine, yarn
white acrylic paint
cardstock
patterned paper
tissue paper
scraps of glitter paper, felt
paper doily
washi tape
buttons
twine
journaling tag
stamps
sewing machine, yarn
How to make:
Collect tickets, brochure, postcards, other paper along the way.
Document your trip on a variety of mixed papers.
Combine your travel ephemera, mixed papers, envelopes and pictures. To make sure your holes are evenly spaced out, just use a ruler and a pencil to mark where you should punch. Now just slide your book rings through the holes. Since the book rings are super easy to remove, you can add as little or as much stuff as you want.
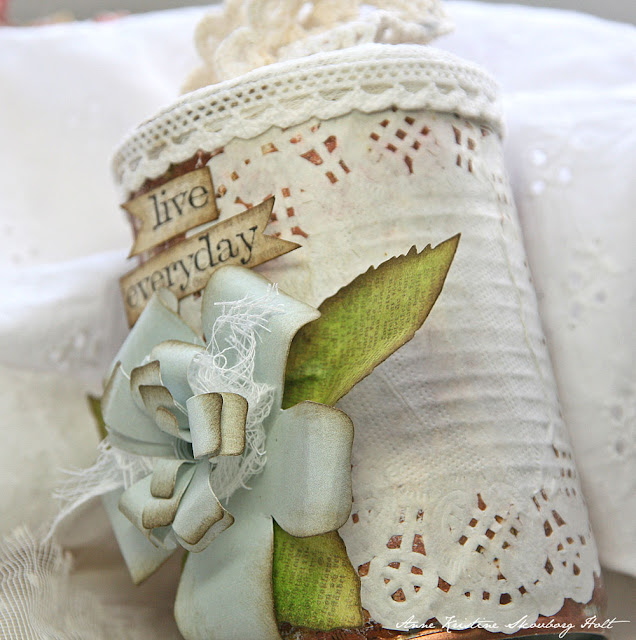
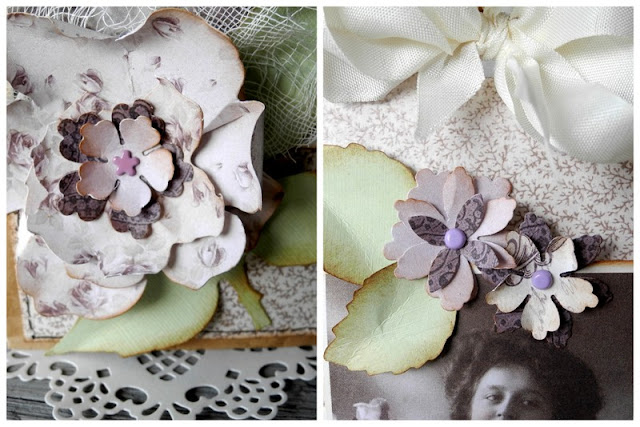
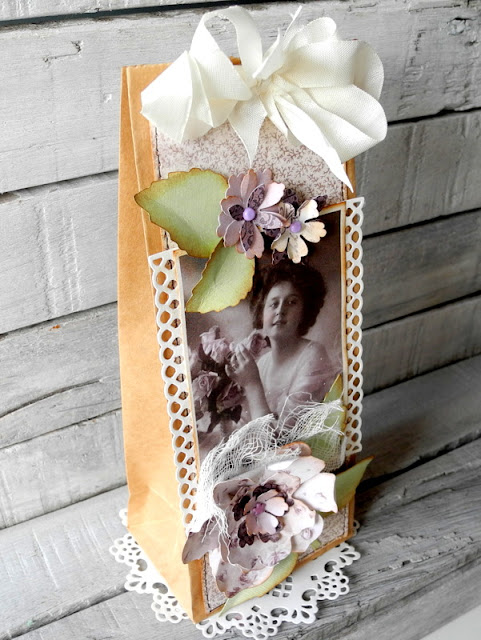
For the cover I used two piece of cardboard 15x10 cm. I painted the cardboard with white acrylic paint and I used a doily, some banner, tag, flower and heart that I had cut out with my Big Shot Machine.
")
Cut the labels with die 657188 to divide each section, sticking out from the mini album.
")
You're done!
")
I hope you liked it!
So I'll say goodbye for this week and show you something else next week! **************************************
 Per le amiche italiane! :)
 Per le amiche italiane! :)
 Buongiorno! Ecco un nuovo appuntamento con Anna per una pausa caffè creativa! Oggi è anche il mio onomastico, che bello :)
Come potete immaginare, anche questa settimana mi sono divertita con la mia Big Shot!
Ecco un mini album facile facile per documentare una vacanza o una gita.
Il tema di questo mio mini è un viaggio in Marocco di qualche anno fa. Ho creato una sorta di diario di viaggio che contiene tutte le mie foto, biglietti, brochure e altri ricordi. Io ho preferito assemblare il mio mini in ordine cronologico, ma voi siete libere di scegliere come impostarlo.
Ho così finalmente completato il mio travel journal usando le mie fustelle preferite del momento. Mi piace molto usare forme fustellate come abbellimenti... non so se si era capito! ;)
Ho così finalmente completato il mio travel journal usando le mie fustelle preferite del momento. Mi piace molto usare forme fustellate come abbellimenti... non so se si era capito! ;)
Materiali:
Sizzix Big Shot Starter Kit (658300) machine + dies
Sizzix Thinlits Die Set 2PK - Doily & Doily Border #2 (659058)
Sizzix Bigz Die - Estate by Prima Marketing Inc. (658527)
Sizzix Bigz Die - Tiny Tabs & Tags (657188)
Sizzix Framelits Die Set 8PK - Circles, Scallop (657552)
Sizzix Framelits Die Set 6PK w/Stamps – Banners (658289)
Sizzix Thinlits Die Set 2PK - Doily & Doily Border #2 (659058)
Sizzix Bigz Die - Estate by Prima Marketing Inc. (658527)
Sizzix Bigz Die - Tiny Tabs & Tags (657188)
Sizzix Framelits Die Set 8PK - Circles, Scallop (657552)
Sizzix Framelits Die Set 6PK w/Stamps – Banners (658289)
Sizzix Bigz Die - Elisse by Prima Marketing Inc. (658526)
Sizzix Bigz Die - Stars (656339)
Sizzix Movers & Shapers Die - Tag & Tie (657859)
Sizzix Bigz Die - Stars (656339)
Sizzix Movers & Shapers Die - Tag & Tie (657859)
cartone (per copertina e abbellimenti)
vernice acrilica bianca
cartoncini tinta unita
carte fantasia varie
carta velina
ritagli di carta glitter, feltro
centrino di carta
washi tape
bottoni
cordoncini vari
journaling tag
timbri
macchina da cucire, filo
vernice acrilica bianca
cartoncini tinta unita
carte fantasia varie
carta velina
ritagli di carta glitter, feltro
centrino di carta
washi tape
bottoni
cordoncini vari
journaling tag
timbri
macchina da cucire, filo
Procedimento:
Nemmeno ve lo dovrei dire, perchè so che lo fate già: durante il vostro viaggio dovrete raccogliere ticket, brochure, cartoline e altri piccoli souvenirs, come mappe, tovaglioli o biglietti da visita dei bar o ristoranti... Tutto fa brodo! ;)
Al vostro ritorno potrete così documentare perfettamente il viaggio combinando i memorabilia con foto e diario, per creare il vostro personale mini album.
Al vostro ritorno potrete così documentare perfettamente il viaggio combinando i memorabilia con foto e diario, per creare il vostro personale mini album.
Se volete, potete anche prepararvi prima la struttura del mini album, così da portarlo con voi in viaggio. Lo userete come un diario da completare giorno per giorno. In questo modo sarete a metà dell'opera: una volta tornate a casa dovrete solo aggiungere le foto e fare i fori ad alcuni souvenirs, semplice, no?!
Per la copertina:
Io ho usato due pezzi di cartone 15x10 cm. Ho dipinto il cartone con vernice acrilica bianca e per abbellire ho usato un centrino, alcuni banner, tag, fiore e cuore, che avevo ritagliato precedentemente con la mia preziosa Big Shot e le fustelle Sizzix.
Io ho usato due pezzi di cartone 15x10 cm. Ho dipinto il cartone con vernice acrilica bianca e per abbellire ho usato un centrino, alcuni banner, tag, fiore e cuore, che avevo ritagliato precedentemente con la mia preziosa Big Shot e le fustelle Sizzix.
Per l'interno del mini album:
Ritagliare alcuni cartoncini tinta unita e fantasia sempre della misura 10x15, per creare le vostre pagine, dove incollerete le foto e scriverete il journaling.
Se durante il vostro viaggio avete visitato diverse località, potrete fare delle pagine divisorie con i nomi dei luoghi. In questo caso tagliare le etichette con la fustella Sizzix Tiny Tabs & Tags per dividere ogni sezione; le etichette le farete spuntare dal mini album per ritrovare facilmente il luogo che vi interessa rivedere.
Potete mescolare pagine 10x15 con buste di varie dimensioni, tag, bustine trasparenti, cartoline, mappe, brochure... basterà praticare due fori, dove inserirete gli anelli metallici apribili, che terranno assieme tutti i ricordi e il materiale documentato.
Per assicurarvi che i fori siano distribuiti uniformemente, basta usare un righello e una matita per segnare dove forare. Dal momento che gli anelli sono super facili da rimuovere, è possibile aggiungere pagine e documentazione a proprio piacimento... e il gioco è fatto!
Spero proprio di avervi aiutato per realizzare il vostro prossimo album delle vacanze!
Ciaoooo! Ci vediamo venerdì prossimo!


")
")
")
")