Hello everyone, this is Janna.
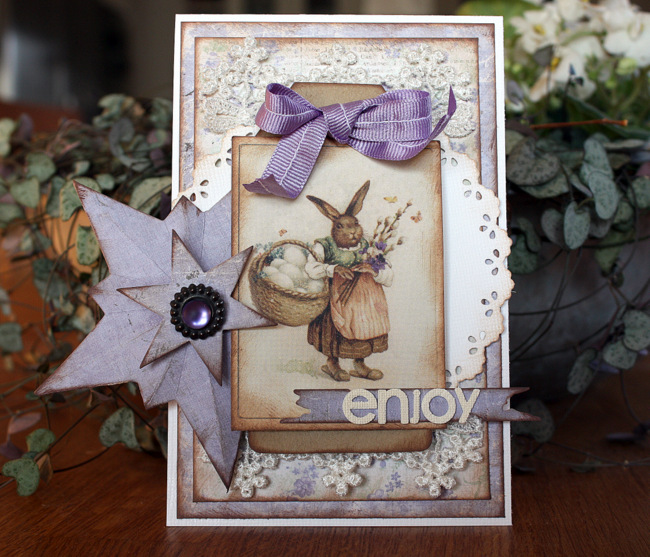
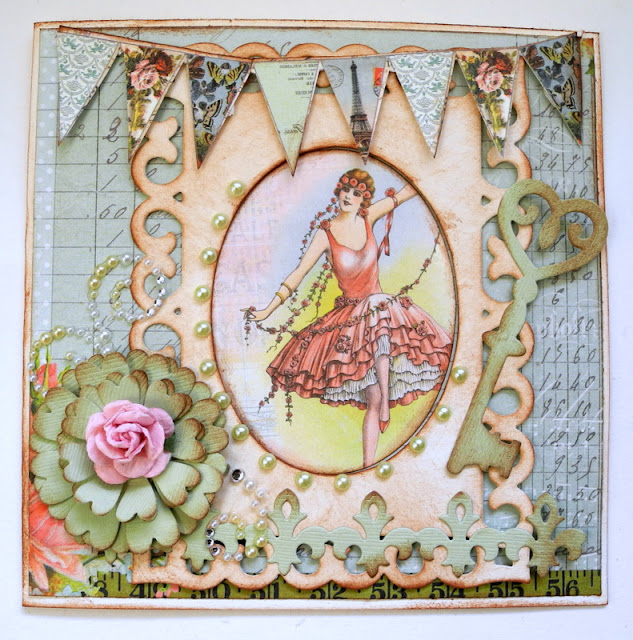
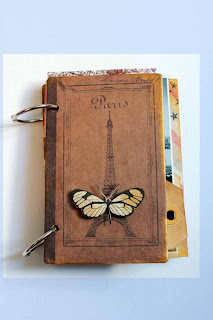
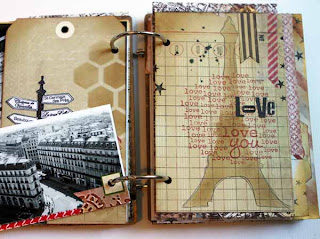
Today I´d like to share a mini album that I created for my upcoming 4-day-journey to Oslo. I am going to take it along on the trip and will use it as a smash book.
![]()
Material list:
655268 Sizzix Big Shot machine
657691 Sizzix Bigz Die - Heart, Stem & Leaves
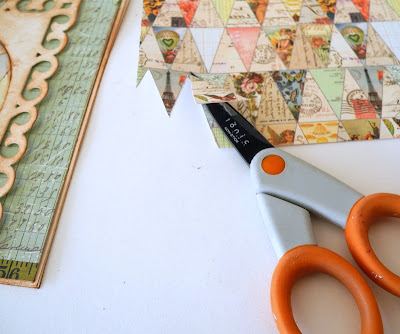
657495 Sizzix On The Edge Die - Butterflight
656938 Sizzix Movers & Shapers L Die - Tag & Bookplates
658284 Sizzix Textured Impressions - Chevrons & Flourishes
patterned paper: Dear Lizzy, Crate Paper, Studio Calico
rhinestones, doily, twine, crepe paper, petals: Stampin´ Up
washi tape: Tim Holtz
alpha sticker: American Crafts, Dear Lizzy
other: sewing machine, white thread
![]()
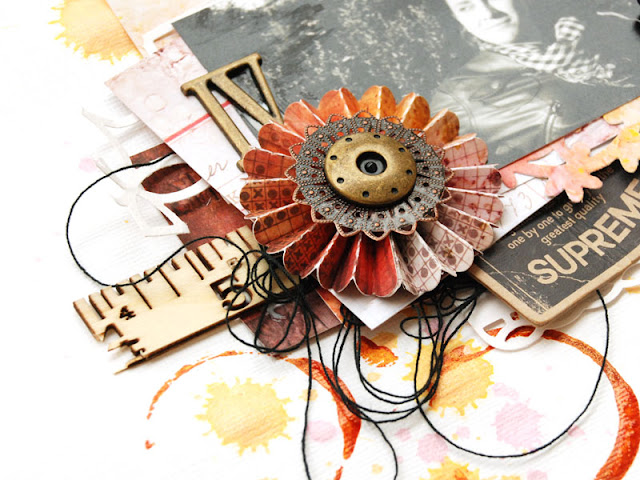
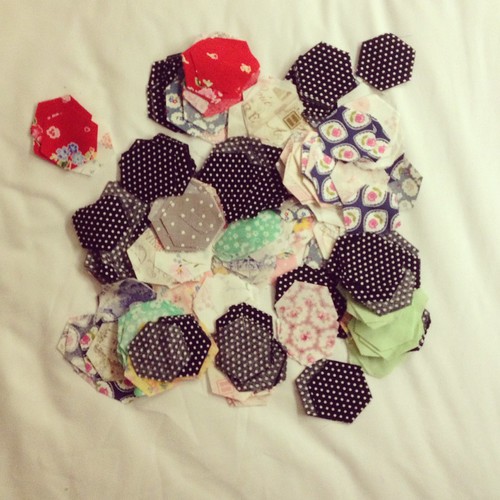
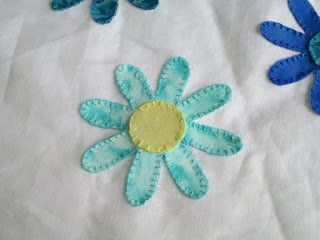
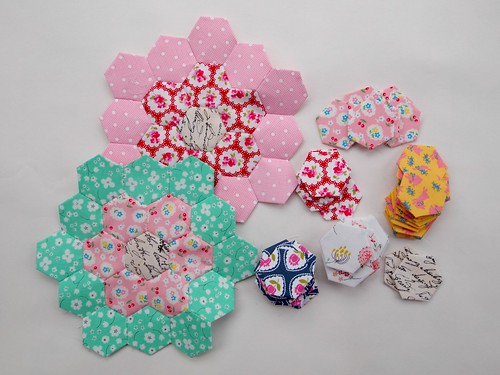
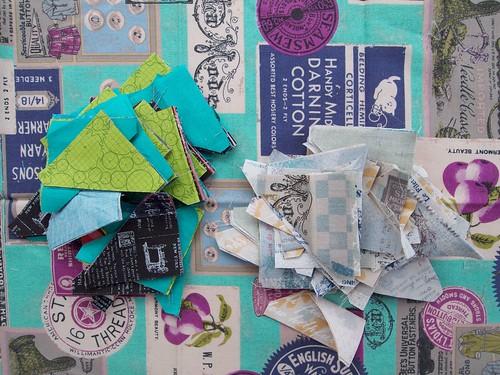
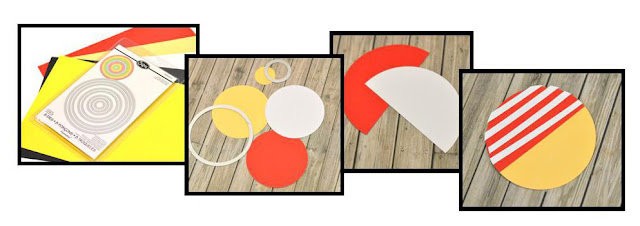
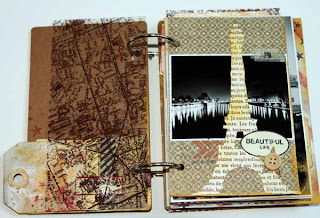
I gathered paper scraps in different sizes and arranged them on top of each other. To create a fluffy appearance mix large and small pieces. I only used happy, springlike colors such as pink, yellow, turquoise...
![]()
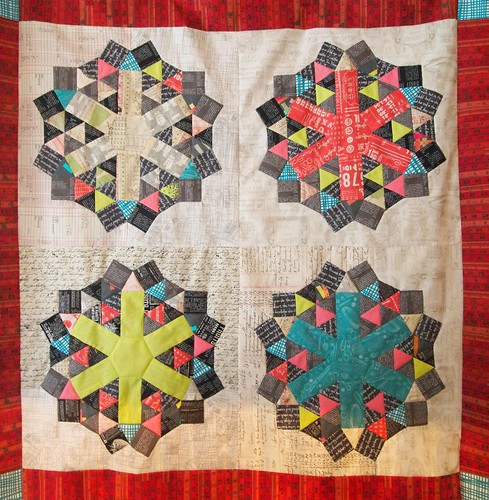
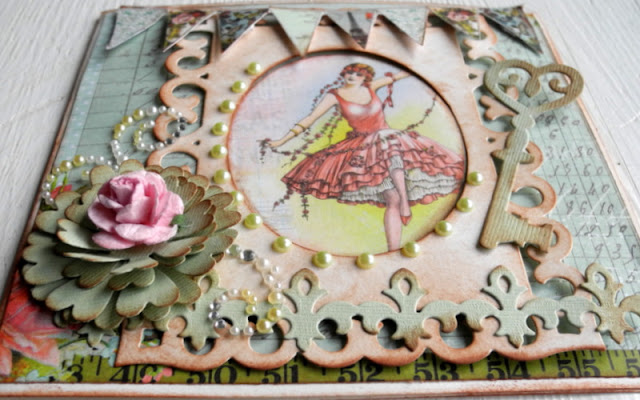
There are many ways of binding a mini album, but why choosing the most difficult binding, when an easy one is as effective?! I love the look of the washi tape binding.
![]()
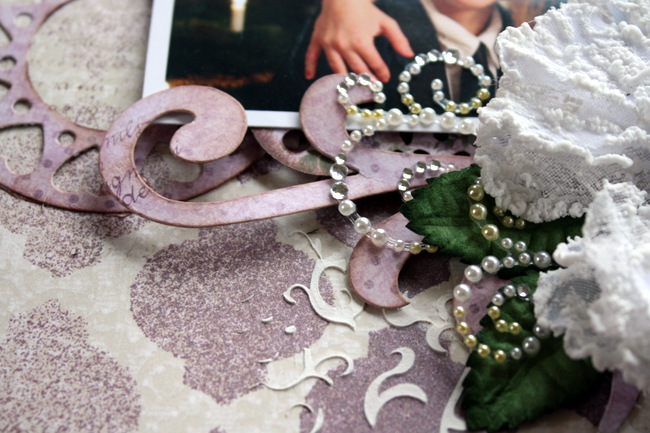
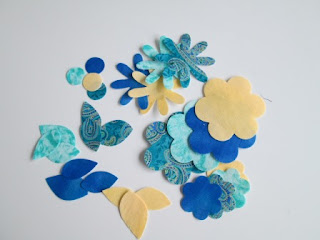
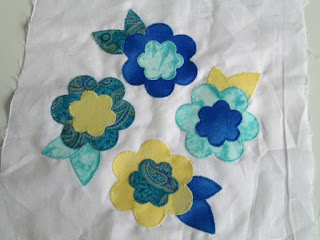
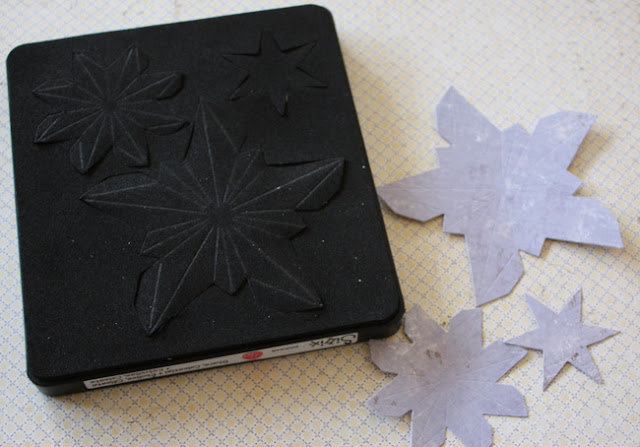
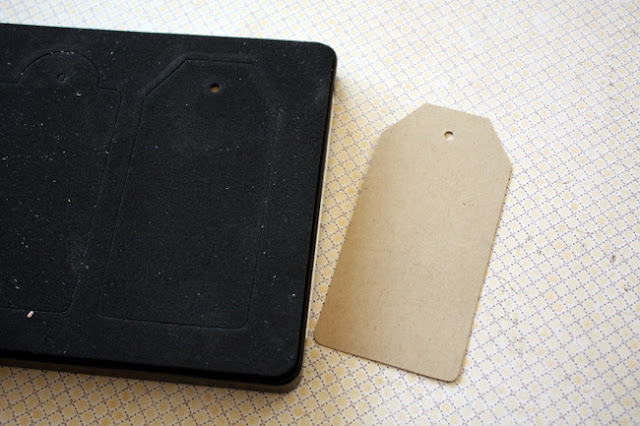
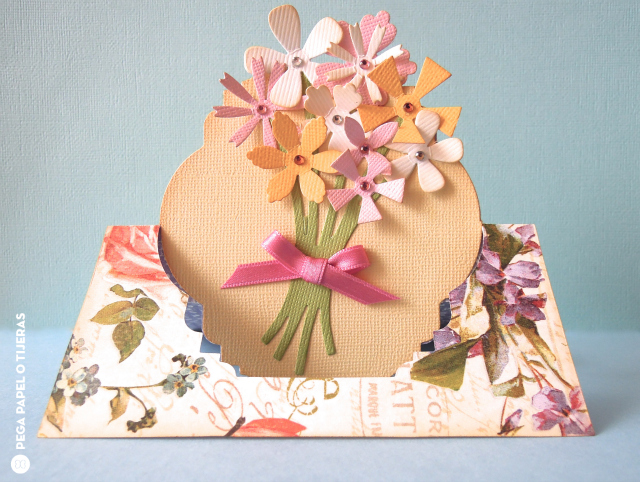
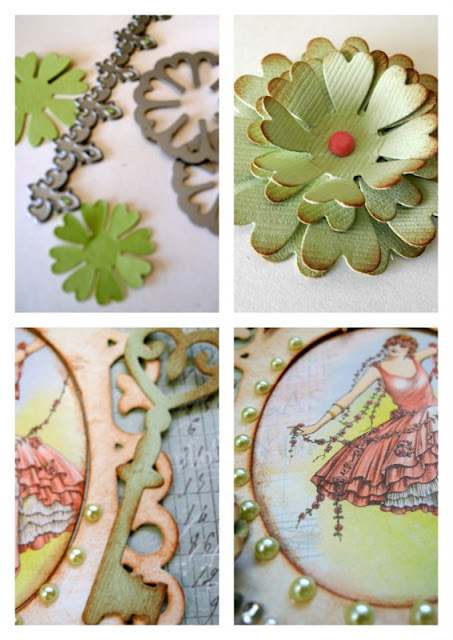
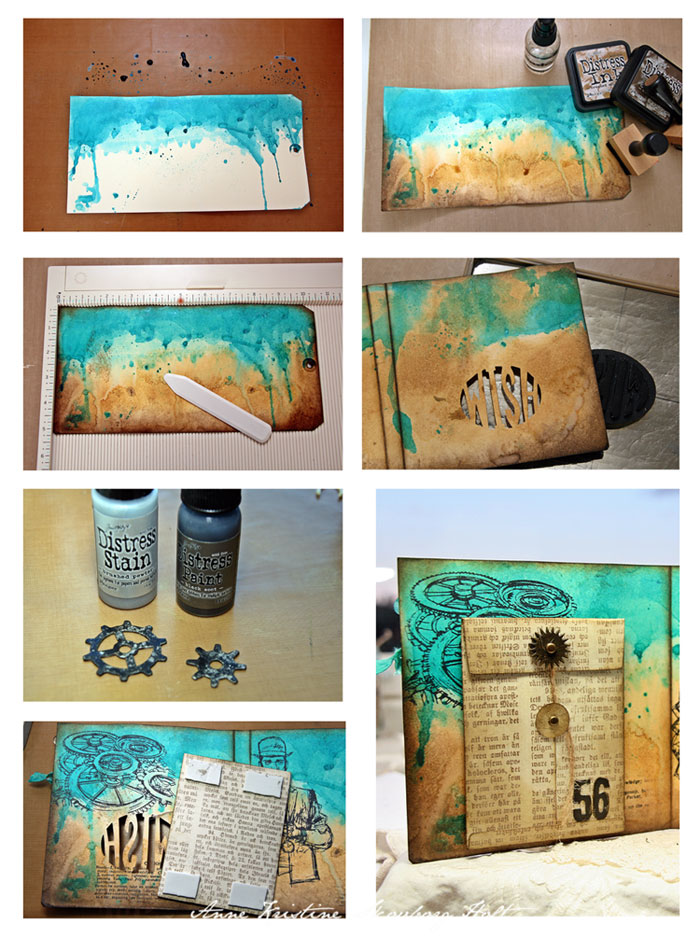
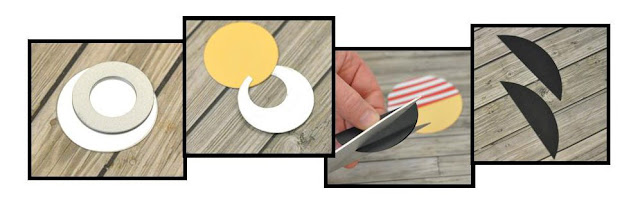
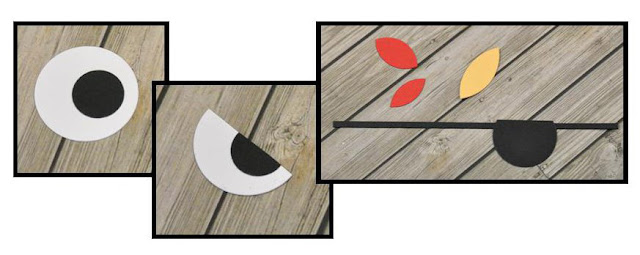
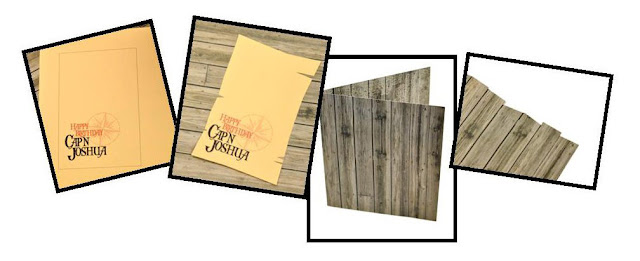
The tag was cut with the Movers & Shapers Die - Tag & Bookplates - one of my favorite dies. The butterflies were cut with the On The Edge Die - Butterflight, the heart with the Bigz Die - Heart, Stem & Leaves. As you can see, I used the heart die on crepe paper. Love the way it turned out.
![]()
If you have a closer look at the top and bottom part of the first paper you´ll notice a decent chevron pattern. I used the Textured Impressions - Chevrons & Flourishes embossing folder, but instead of running the paper through the Big Shot machine, I placed the paper in the folder and pressed with my hands.
Thanks for stopping by today. Have a great and crafty day, everyone!
Janna
*****
Hallo ihr Lieben, hier ist Janna.
Heute möchte ich euch ein Mini-Album zeigen, das ich für meinen kommenden 4-Tage-Urlaub nach Oslo hergestellt habe. Ich werde das Album mitnehmen und wie ein Smash Book verwenden.
Materialliste:
655268 Sizzix Big Shot machine
657691 Sizzix Bigz Die - Heart, Stem & Leaves
657495 Sizzix On The Edge Die - Butterflight
656938 Sizzix Movers & Shapers L Die - Tag & Bookplates
658284 Sizzix Textured Impressions - Chevrons & Flourishes
Patterned Paper: Dear Lizzy, Crate Paper, Studio Calico
Rhinestones, Doily, Twine, Krepppapier, Blütenblätter: Stampin´ Up
Washi Tape: Tim Holtz
Alphas: American Crafts, Dear Lizzy
Anderes: Nähmaschine, weißes Garn
Ich habe Papiere in verschiedenen Größen zusammengesucht und sie aufeinander arrangiert. Um einen lockeren Look zu erhalten, sollten kleine und große Papiere gemischt werden. Ich habe nur fröhliche, frühlingshafte Farben genutzt, wie Gelb, Pink und Türkis.
Es gibt viele Arten, ein Mini-Album zu binden, aber warum kompliziert, wenn es auch einfach - und ebenso effektiv - geht?! Mir gefällt die WashiTape-Bindung sehr gut.
Den Tag habe ich mit der Movers & Shapers Die - Tag & Bookplates zurechgeschnitten - eine meiner Lieblings-Dies. Die Schmetterlinge sind mit der On The Edge Die - Butterflight gestanzt worden und das Herz mit der Bigz Die - Heart, Stem & Leaves. Wie ihr sehen könnt, habe ich das Herz aus Krepppapier gestanzt, sieht wunderschön aus.
Wenn ihr genau hinkuckt seht ihr, dass im oberen und unteren Bereich des ersten Papiers ein dezentes Chevron-Muster aufgetragen ist. Das habe ich mit dem Textured Impressions - Chevrons & Flourishes embossing folder erreicht. Anstatt das Papier mit dem embossing folder durch die Big Shot Maschine zu drehen, habe ich das Papier in den folder gelegt und mit den Händen zugedrückt.
Habt einen schönen Tag!
Janna
Today I´d like to share a mini album that I created for my upcoming 4-day-journey to Oslo. I am going to take it along on the trip and will use it as a smash book.

Material list:
655268 Sizzix Big Shot machine
657691 Sizzix Bigz Die - Heart, Stem & Leaves
657495 Sizzix On The Edge Die - Butterflight
656938 Sizzix Movers & Shapers L Die - Tag & Bookplates
658284 Sizzix Textured Impressions - Chevrons & Flourishes
patterned paper: Dear Lizzy, Crate Paper, Studio Calico
rhinestones, doily, twine, crepe paper, petals: Stampin´ Up
washi tape: Tim Holtz
alpha sticker: American Crafts, Dear Lizzy
other: sewing machine, white thread

I gathered paper scraps in different sizes and arranged them on top of each other. To create a fluffy appearance mix large and small pieces. I only used happy, springlike colors such as pink, yellow, turquoise...

There are many ways of binding a mini album, but why choosing the most difficult binding, when an easy one is as effective?! I love the look of the washi tape binding.

The tag was cut with the Movers & Shapers Die - Tag & Bookplates - one of my favorite dies. The butterflies were cut with the On The Edge Die - Butterflight, the heart with the Bigz Die - Heart, Stem & Leaves. As you can see, I used the heart die on crepe paper. Love the way it turned out.

If you have a closer look at the top and bottom part of the first paper you´ll notice a decent chevron pattern. I used the Textured Impressions - Chevrons & Flourishes embossing folder, but instead of running the paper through the Big Shot machine, I placed the paper in the folder and pressed with my hands.
Thanks for stopping by today. Have a great and crafty day, everyone!
Janna
*****
Hallo ihr Lieben, hier ist Janna.
Heute möchte ich euch ein Mini-Album zeigen, das ich für meinen kommenden 4-Tage-Urlaub nach Oslo hergestellt habe. Ich werde das Album mitnehmen und wie ein Smash Book verwenden.
Materialliste:
655268 Sizzix Big Shot machine
657691 Sizzix Bigz Die - Heart, Stem & Leaves
657495 Sizzix On The Edge Die - Butterflight
656938 Sizzix Movers & Shapers L Die - Tag & Bookplates
658284 Sizzix Textured Impressions - Chevrons & Flourishes
Patterned Paper: Dear Lizzy, Crate Paper, Studio Calico
Rhinestones, Doily, Twine, Krepppapier, Blütenblätter: Stampin´ Up
Washi Tape: Tim Holtz
Alphas: American Crafts, Dear Lizzy
Anderes: Nähmaschine, weißes Garn
Ich habe Papiere in verschiedenen Größen zusammengesucht und sie aufeinander arrangiert. Um einen lockeren Look zu erhalten, sollten kleine und große Papiere gemischt werden. Ich habe nur fröhliche, frühlingshafte Farben genutzt, wie Gelb, Pink und Türkis.
Es gibt viele Arten, ein Mini-Album zu binden, aber warum kompliziert, wenn es auch einfach - und ebenso effektiv - geht?! Mir gefällt die WashiTape-Bindung sehr gut.
Den Tag habe ich mit der Movers & Shapers Die - Tag & Bookplates zurechgeschnitten - eine meiner Lieblings-Dies. Die Schmetterlinge sind mit der On The Edge Die - Butterflight gestanzt worden und das Herz mit der Bigz Die - Heart, Stem & Leaves. Wie ihr sehen könnt, habe ich das Herz aus Krepppapier gestanzt, sieht wunderschön aus.
Wenn ihr genau hinkuckt seht ihr, dass im oberen und unteren Bereich des ersten Papiers ein dezentes Chevron-Muster aufgetragen ist. Das habe ich mit dem Textured Impressions - Chevrons & Flourishes embossing folder erreicht. Anstatt das Papier mit dem embossing folder durch die Big Shot Maschine zu drehen, habe ich das Papier in den folder gelegt und mit den Händen zugedrückt.
Habt einen schönen Tag!
Janna


")
")
")


")
")
")
")