No, I'm not 'Out on the Tiles!' as the title suggests, my wild partying days are long behind me, although, I did have a bottle of beer with my tea last month but it was a Friday. I wouldn't drink on a school night!
The tiles I refer to are an architectural feature of the beautiful Portuguese city of Porto which I have been lucky enough to have visited on numerous occasions representing Sizzix. The tiles called azulejos appear all around the city on the outside of churches, palaces, even ordinary buildings. one of the most spectacular examples appears in the entrance to the main railway station in Porto as you can see in the top picture below

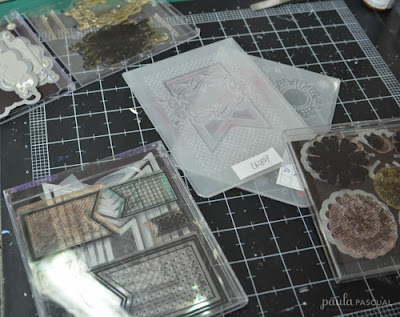
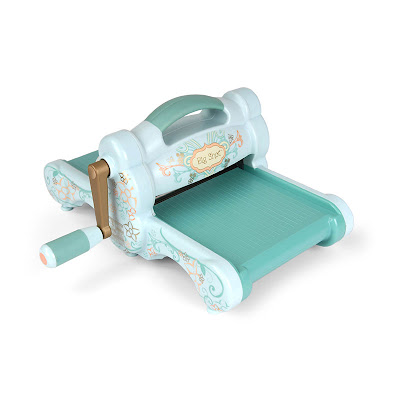
The Sizzix products I used were one of the Texture Fades embossing folders from the Book Covers Set by Tim Holtz, A tab Framelits from the new Big Shot Starter Kit and the violet flower from the Susan's Garden range.
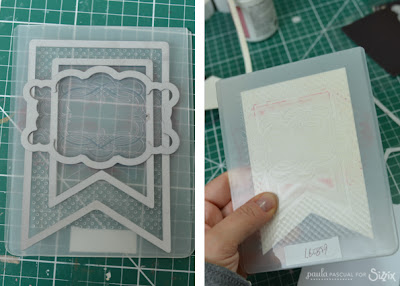
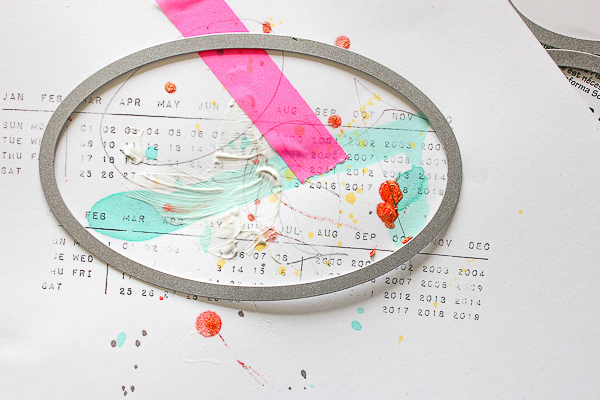
I opened my folder and started by inking the Positive side using various blue shades of Distress ink so I am embossing and printing at the same time. It is important to use die ink as it gives an inconsistency to the printed image which adds to the effect we are trying to achieve. Place a piece of heavy weight white cardstock into the folder and carefully close before passing through the Big Shot machine to emboss.

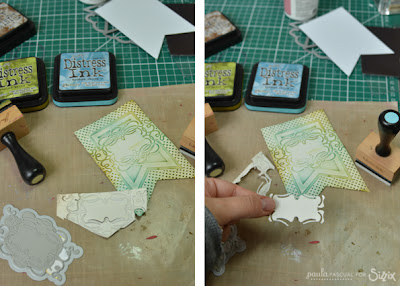
I carefully cut the card into squares, (don't worry if they are not perfect, it all adds to the effect) before applying Glossy Accents to each tile for a thick varnished effect, I usually place the bottle in a cup of warm water prior to application to make it flow smoother. For the centre piece of my project I printed a photograph of my friend Patricia, our wonderful Portuguese distributor, and her beautiful daughter Leonor which I then die cut using the Framelits die and glazed with Crackle Accents the flowers were die cut and assembled from white card, distressed with inks and glazed with Glossy Accents

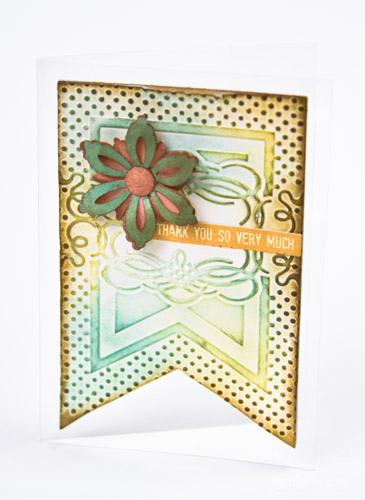
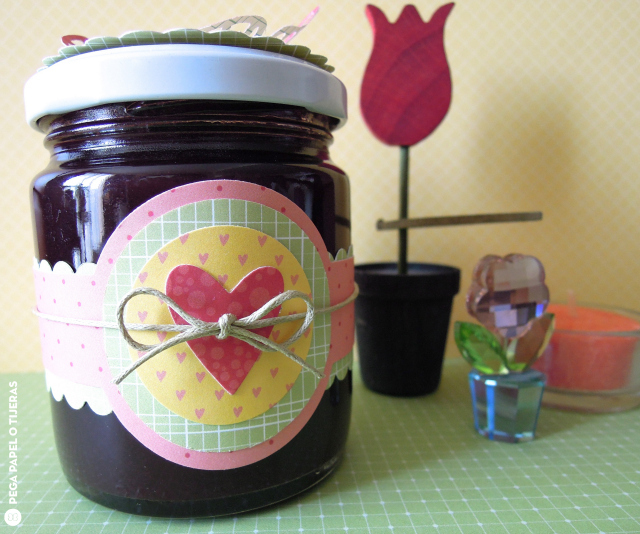
There are many ways you can put these mini tiles to good use, I have shown them in a picture frame below as well as the card, they would work equally as well as part of a scrapbook layout, home decor project or even a piece of jewellery.

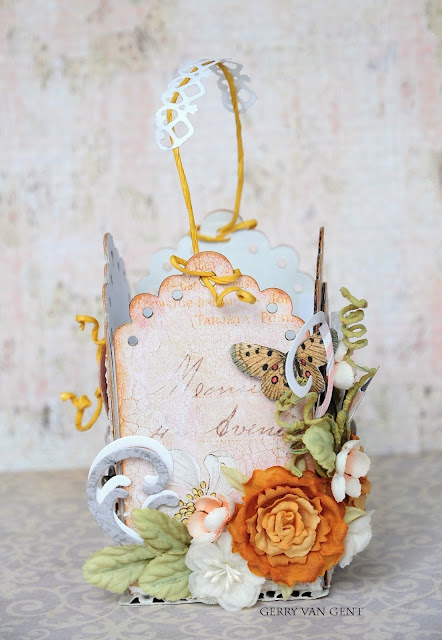
Here is the finished card, I attached the tiles with 3D foam pads to add a little dimension. I hope you have as much fun with this technique as I did?


 Hello there, this is


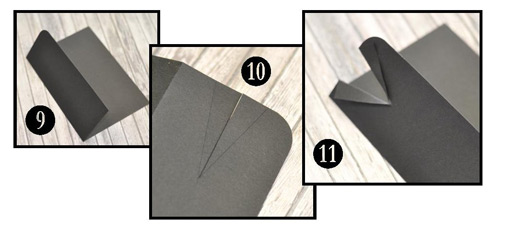
")
")
")
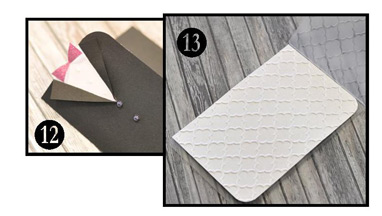
")
")