![]()
Hello!
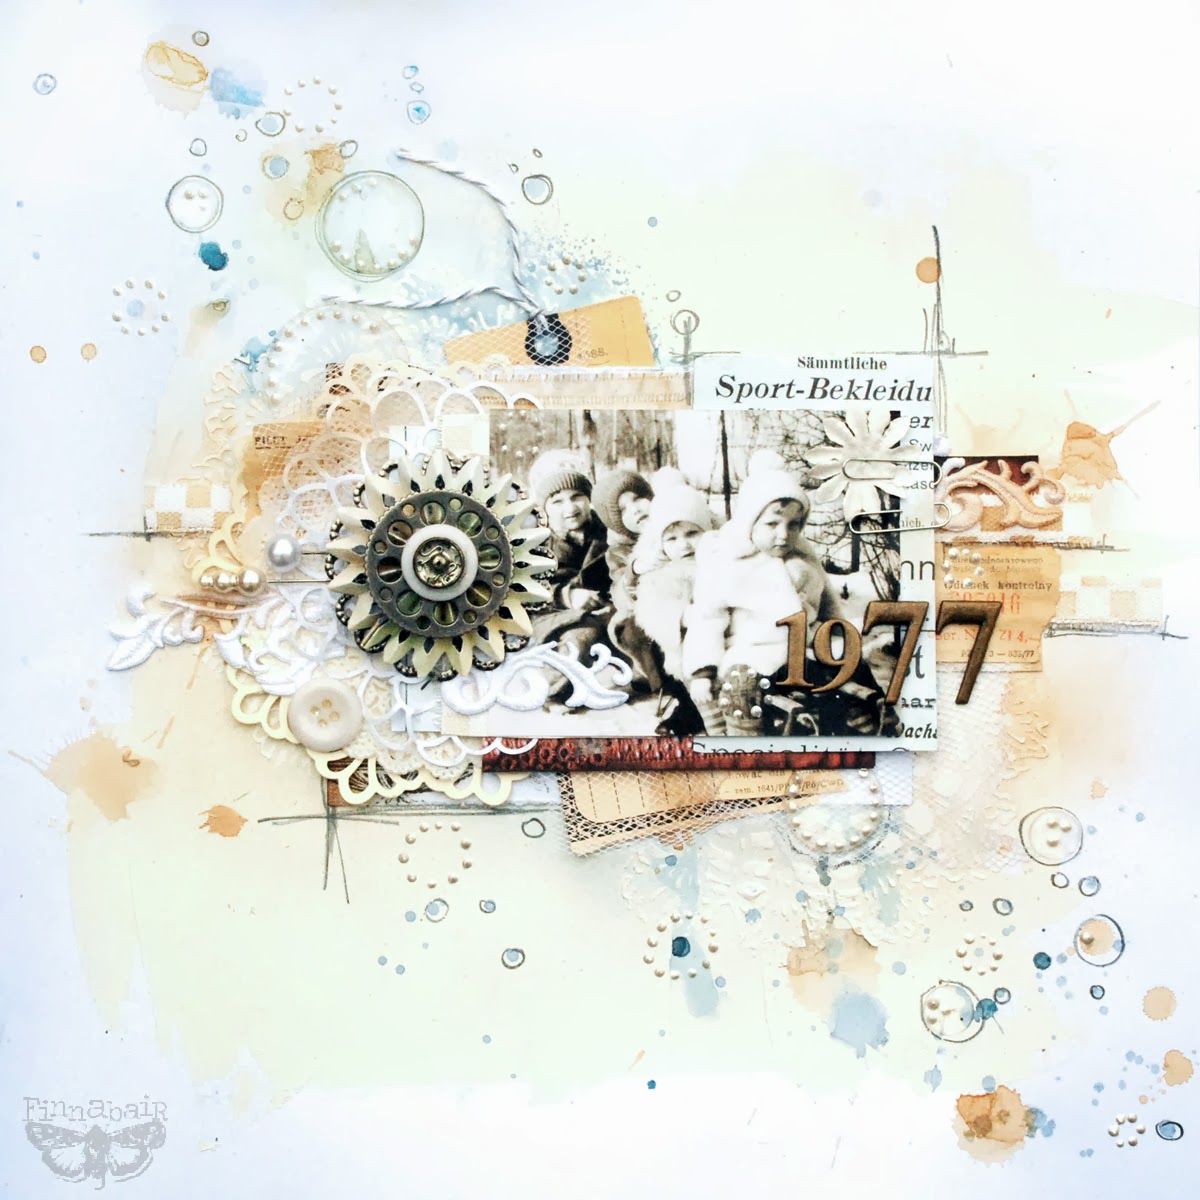
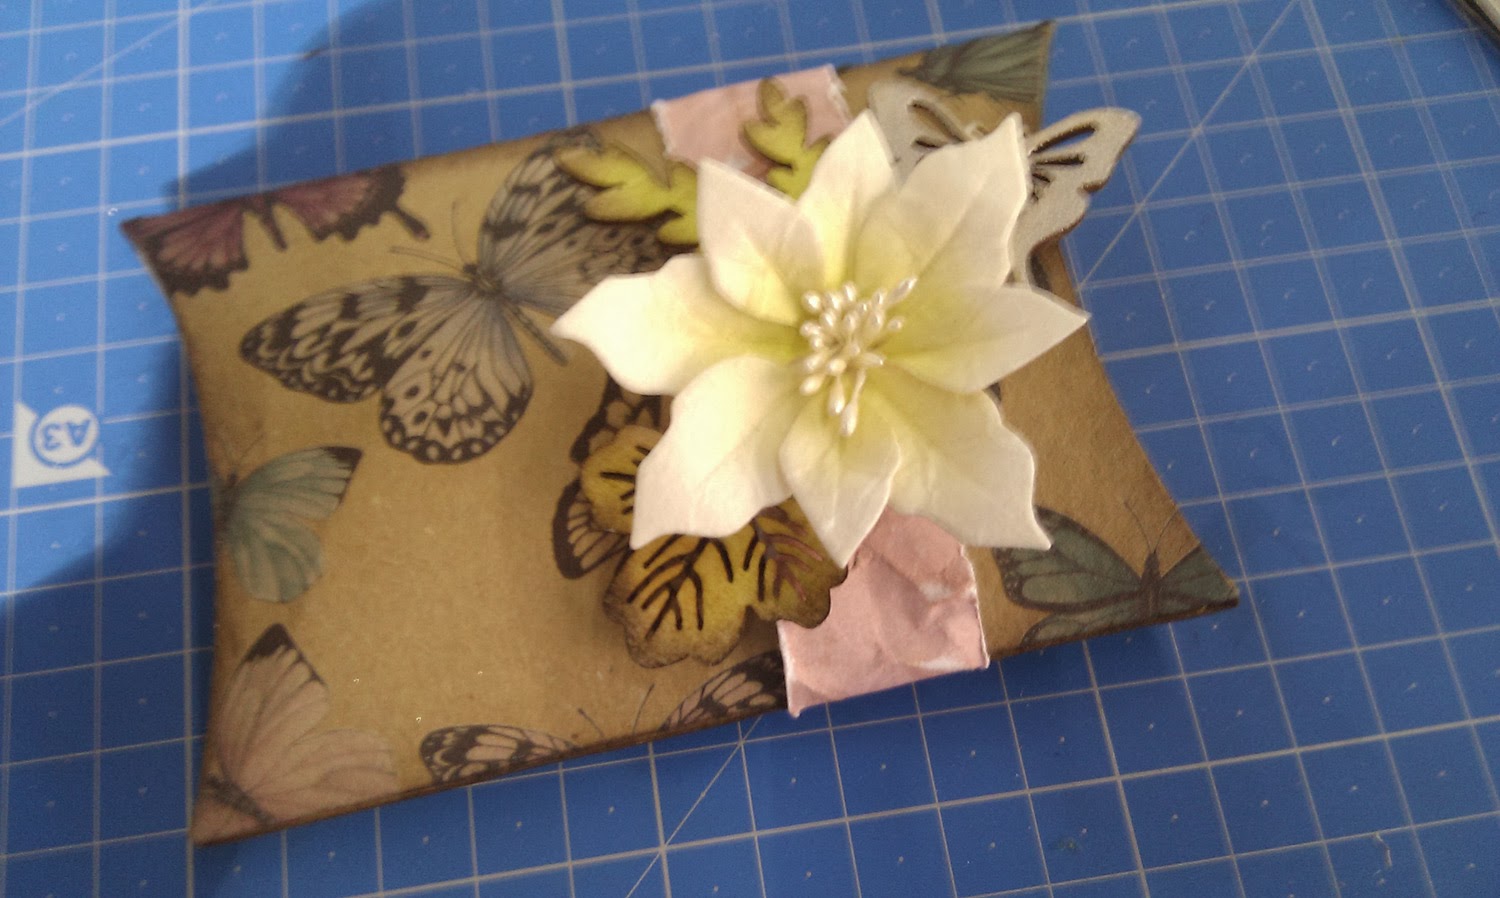
Today I’ll show you an all-in-green page to celebrate Mother Nature. I used two sets of dies that were just perfect for my theme “Go Green”!
Supply list:
Cardstock: American Crafts
Papers: American Crafts
Alphabets: October Afternoon, Jenni Bowlin Studio
Enamel Dots: Studio Calico
Die cuts: Crate Paper
Stamps: Glitz Design, Stampin Up
Ink: Infocréa
STABILO Pen 68 pens
Others: Tracing paper, masking tape
Dies:
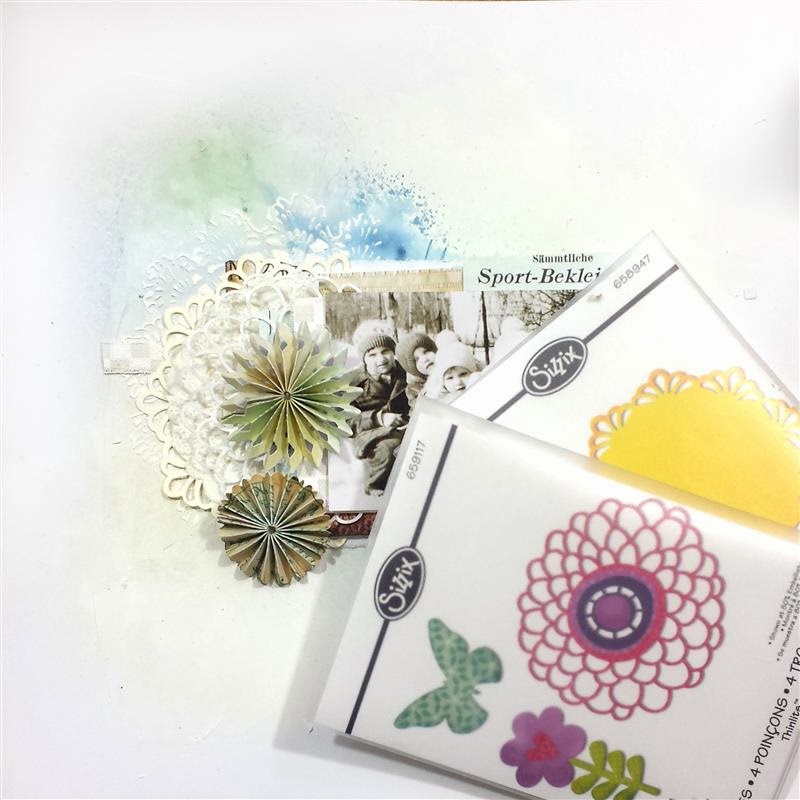
659436: Sizzix Bigz Die-Garden Greens
658334: Sizzix Sizzlits Dits-Flights of Fancy
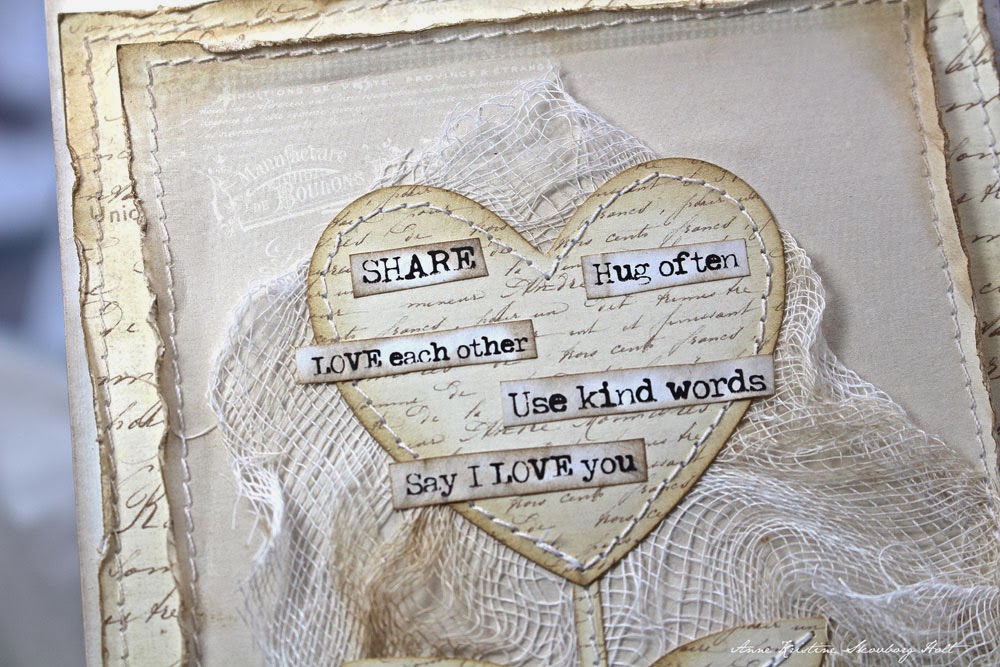
This is a creation with pastel tone-on-tone colours that is highlighting a nice picture of a stroll in the mountain.
I started by applying Gesso on a white cardstock with an old loyalty card. Once my paper was dry, I had fun colouring it with watercolour pens from STABILO Pen 68.
Then I added stamped patterns printed with a tone-on-tone ink colour, and Sizzix dies.
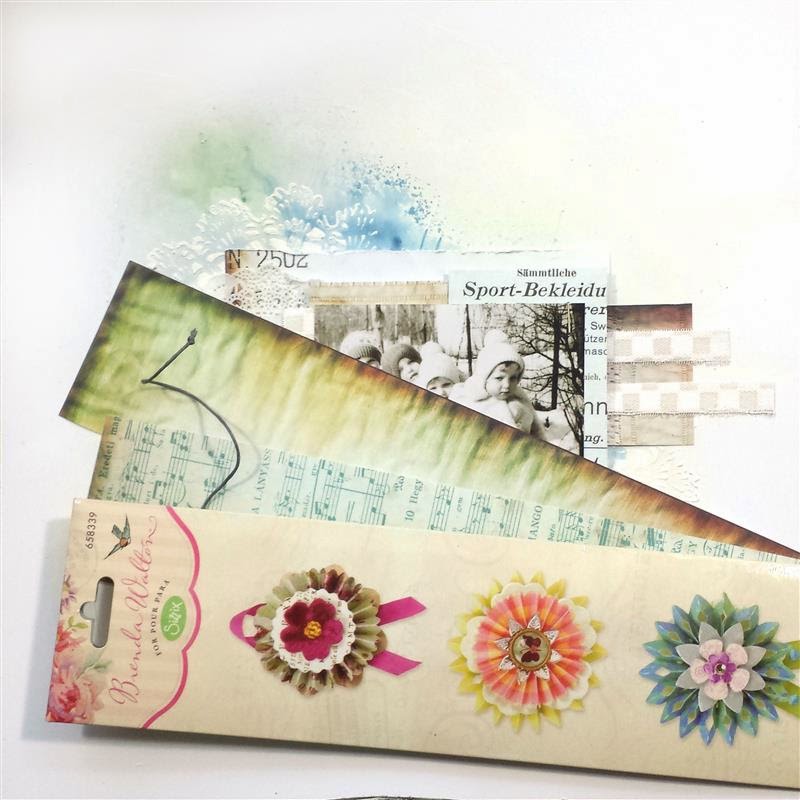
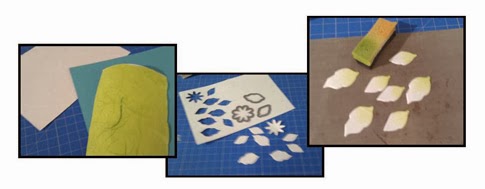
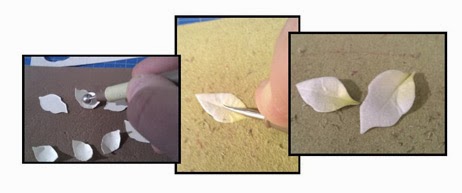
The first foliage pattern is cut out of white paper then coloured with the watercolour pens.
The butterflies and dragonfly patterns are cut out of tracing paper. They are stapled to the background to avoid unexpected glue marks.
Finish by inserting little colourful dots and your title!
Have a lovely day !
Karine
Bonjour !
Une nouvelle page aujourd'hui toute verte pour célébrer la nature qui nous entoure. J'ai utilisé ici deux sets de dies juste parfaits pour ma thématique "Go Green" !
Matériel :
Cardstock : American Crafts
Papiers : American Crafts
Alphabets : October Afternoon, Jenni Bowlin Studio
Enabel Dots : Studio Calico
Die cuts : Crate Paper
Tampons : Glitz Design, Stampin Up
Encre : Infocréa
Feutres STABILO Pen 68
Divers : calque, masking tape
Dies utilisés :
659436: Sizzix Bigz Die-Garden Greens
658334: Sizzix Sizzlits Dits-Flights of Fancy
Une création dans les couleurs pastelles et ton sur ton pour mettre à l'honneur une belle photo de balade en montagne.
J'ai commencé par appliquer du Gesso sur mon cardstock blanc à l'aide d'une carte de fidélité.
Une fois ma surface sèche je me suis amusée à la colorer avec des feutres aquarellables de la marque STABILO Pen 68.
Mon fond est ensuite complété par des tampons imprimés avec une encre ton sur ton et des découpes Sizzix.
Le premier feuillage est découpé en blanc, il est ensuite coloré avec ces mêmes feutres aquarellables.
Les découpes papillons et libellule sont quant à elles découpées dans du papier calque. Elles sont agrafées à mon fond afin d'éviter toutes traces de colle indésirables.
Complétez ensuite avec de jolies pastilles aux couleurs assorties et votre titre !
Bonne journée à vous
Karine