Hello Sizzix friends!
It`s Sunday and I`m here today to share with you
how I created a card using one of the new Thinlits die cuts
as a base for a doily card.
as a base for a doily card.

SUPPLIES LIST:

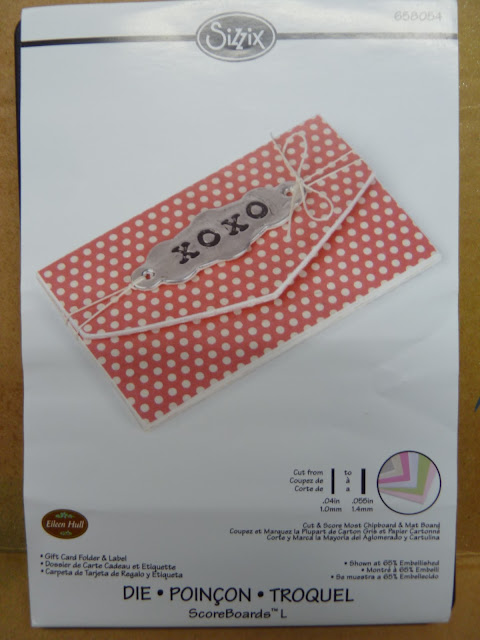
{658947} Sizzix Thinlits Die - Doily & Doily Border
{658951} Sizzix Thinlits Die- Ornate Hanging Sign
{658605} Sizzix Thinlits Die- Doilies, Lovely
{658607} Sizzix Thinlits Die - Flowers, Intricate
{657906} Sizzix Framelits Die Set - Frame, Snowflake
{657524} Sizzix Sizzlits Medium Die - Card Phrases Set #3
INSTRUCTIONS:
STEP 1:
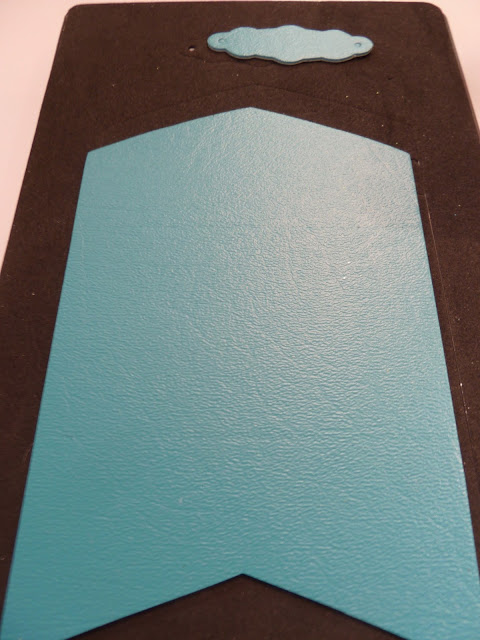
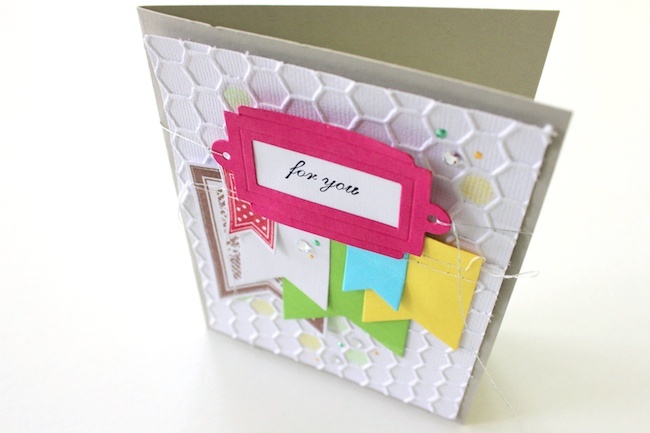
As a base for your card prepare folded in two white cardstock with size 13 x 13 cm.
Place on top the Thinlits Doily Die...

Make sure that the doily die comes above the top folded part of the cardstock!
In this way the two doilies will be connected to each other!

This is what the result should be once it's ready.

STEP 2:
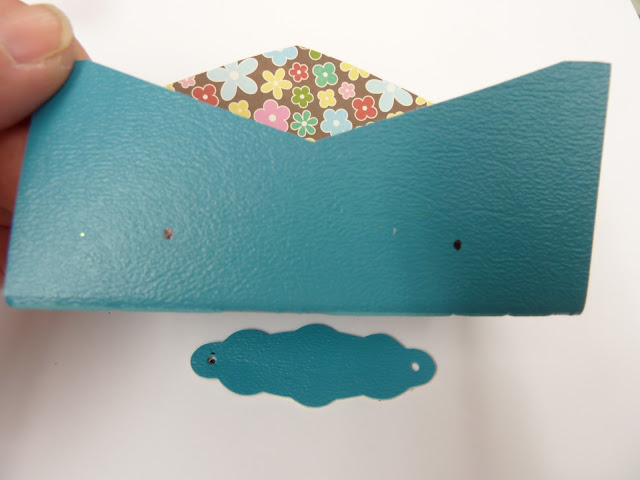
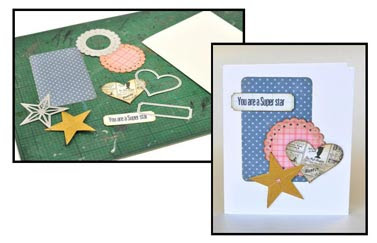
Use pattern paper to die-cut different embellishments for your card.
N.B. The ornate part of theHanging Sign Die was cut twice
- Once using pattern paper and once using white cardstock.
- Remove parts of both sides so they won't come out of the card

N.B. I didn`t use all the die-cuts you see on the photo below.

STEP 3:
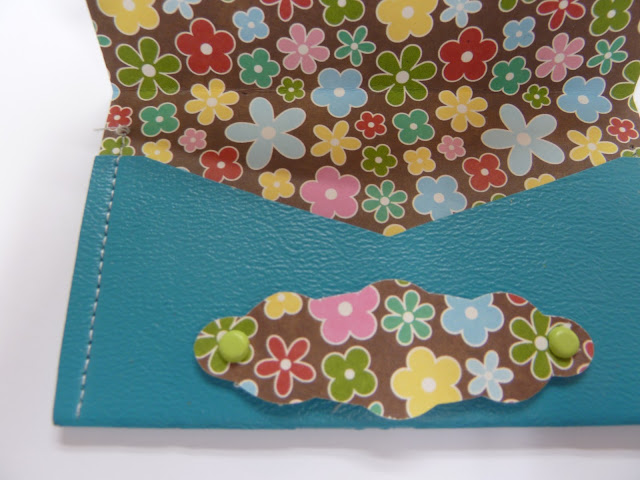
Create your own background on front of the card by using a floral
stamp, embossing ink, embossing powder and ink (of your choice).
Add Liquid Pearls for decoration.

I left the back side of the card natural i.e. white.

STEP 4:
Decorate your card with the die-cuts.
Adhere by using not only glue but also foam squares
which will give a perfect dimension on your card.

STEP 5:
Die-cut the phrase "For You" once using white cardstock
and once using black cardstock.
Use the black die-cut phrase as a shadow.

Other Products I used:
Prima Marketing - "Meadow Lark" Collection
Prima Marketing - "Sunrise Sunset" Cling Stamp

Hallo Sizzix vrienden!
Het is zondag vandaag en ik wil graag een kaart met jullie delen.
Ik heb een van de nieuwe Thinlits stansjes als basis gebruikt om deze kaart te creëren.
SUPPLIES LIST:
{658947} Sizzix Thinlits Die - Doily & Doily Border
{658951} Sizzix Thinlits Die- Ornate Hanging Sign
{658605} Sizzix Thinlits Die- Doilies, Lovely
{658607} Sizzix Thinlits Die - Flowers, Intricate
{657906} Sizzix Framelits Die Set - Frame, Snowflake
{657524} Sizzix Sizzlits Medium Die - Card Phrases Set #3
INSTRUCTIES:
STAP 1:
Bereid als basis voor je kaart een gevouwde witte cardstock voor met maat 13x13cm.
Plaats het Thinlits Doily Die op de dubbele cardstock
* * *
Zorg er voor dat de doily stans boven de cardstock geplaatst wordt.
Op deze manier zijn de twee doilies met elkaar verbonden.
* * *
Dit is wat het resultaat zou moeten zijn als het klaar is.
STAP 2:
Gebruik patroon papier om verschillende gestanst embellishments te stansen voor je kaart.
N.B. Het ornaat stukje van het Hanging Sign Die is twee keer gestanst
- een keer met patroon papier en een keer met witte cardstock
- verwijder de kleine eind stukjes
* * *
N.B. Ik heb niet alle gestanste stukjes op de foto hieronder gebruikt.
STAP 3:
Maak je eigen achtergrond op de voorkant van de kaart met behulp van een florale stamp,
embossing inkt, embossing poeder en inkt (naar keuze).
Bijvoegen Liquid Pearls om te versieren.
* * *
Ik heb de achterkant van de kaart wit gelaten.
STAP 4:
Versier je kaart met de uitgestanste stukjes.
Gebruik niet alleen lijm maar ook vierkantjes van foam.
- op deze manier krijg je meer dimensie.
STAP 5:
Stans een keer de uitdrukking "For You" op wit papier en een keer op zwart papier.
Gebruik de zwarte uitdrukking als een schaduw.
* * *
I Hope you enjoyed my card tutorial today!
Have a Sizzix Sunday!


")
")
")
")
")