![]()
![]()
![]()
![]()
![]()
![]()
![]()
See you next Wednesday
Daria.
Всем привет!
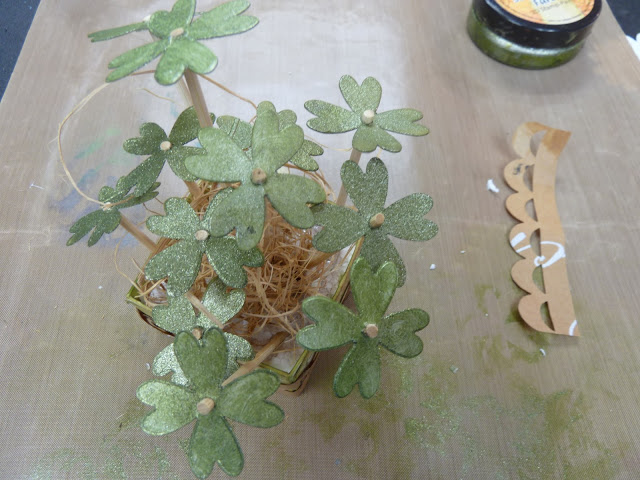
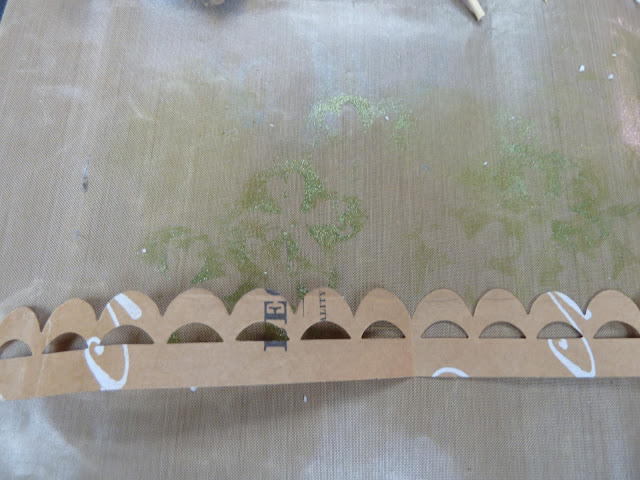
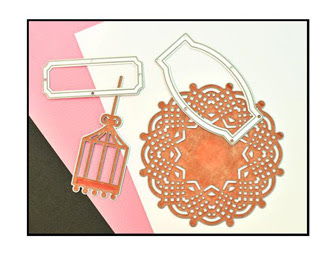
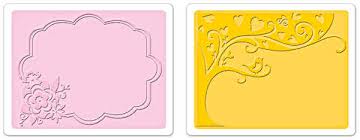
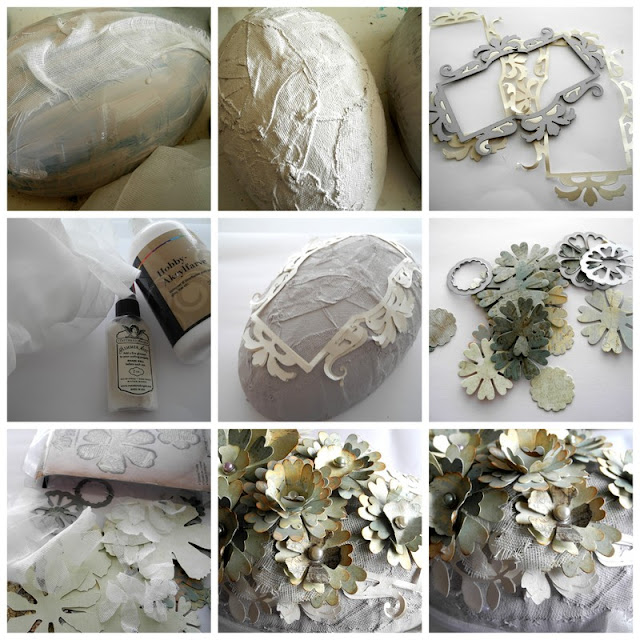
1. C помощью ножей VintageLaceEdgingи FlowerGardenw/Scallopsя вырезала два бордюра. Один из кальки, другой из скрап-бумаги. Я буду использовать их, чтобы сделать поверхность моего коллажа более текстурной и узорчатой. Я приклеила бумагу и эти бордюры с помощью декупажного клея.
Хорошего дня!
Дарья.
Hi, everyone!
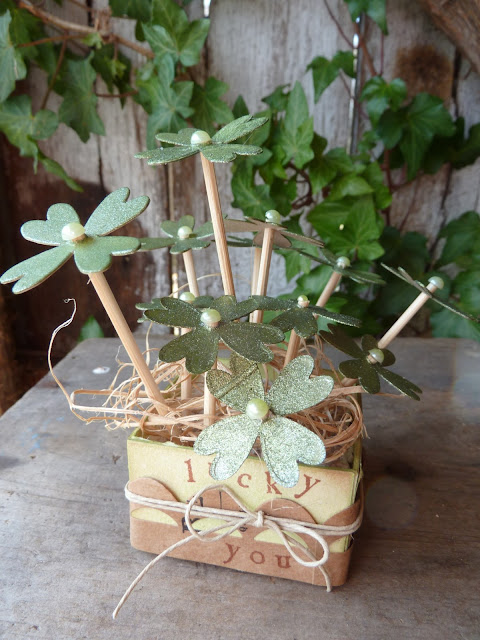
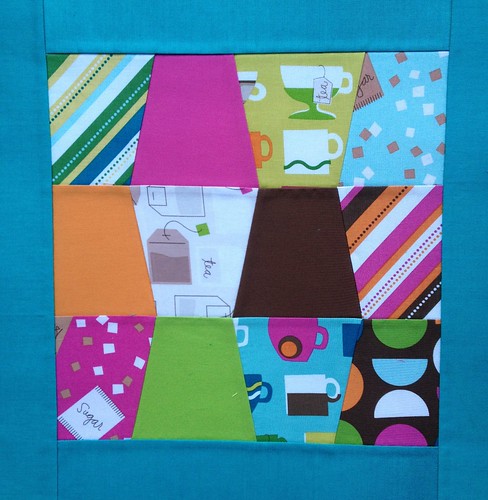
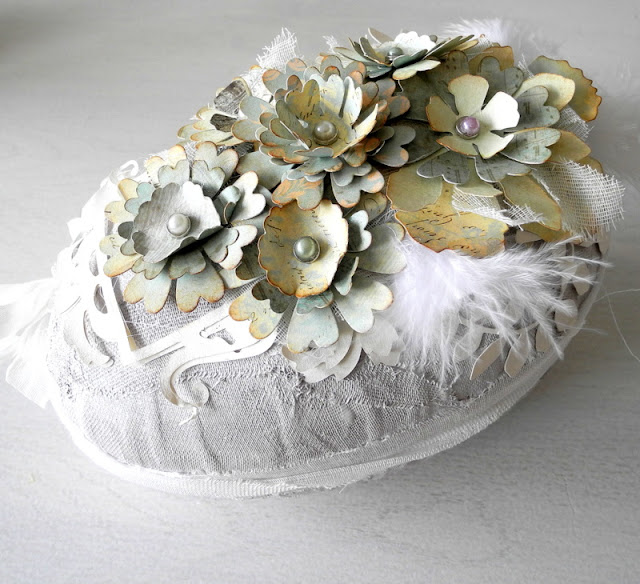
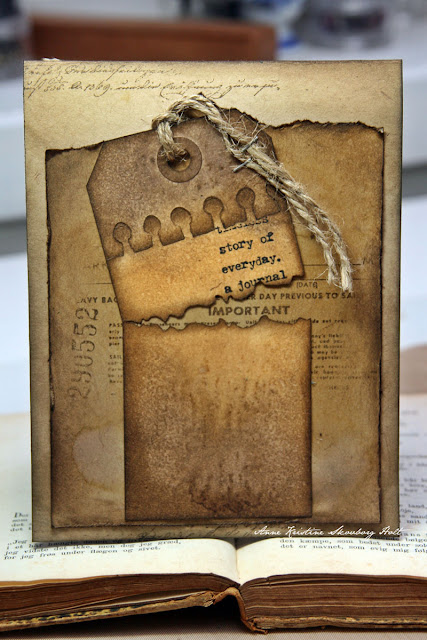
I love to create mixed-media projects. They give free play to my imagination. And today I want to show you a small collage.
Items used:
Big Shot Machine (655268)
Permament marker - black
Smooch Spritz - Splash
Rub-ons
Acrylic paint - yellow
Crystals - Green
Decoupage glue
Different stamps and papers
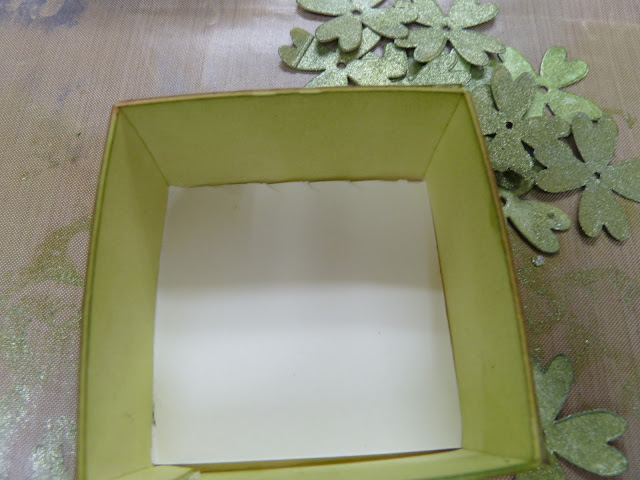
1. I cut two borders using Vintage Lace Edging and Flower Garden w/Scallops dies. One of them I cut from vellum, and another from scrapbooking paper. I used this borders to make the surface more textural. I glued them using decoupage glue.

2. Then I used brayer to apply the acrylic paint to my collage. After paint dried I sprinkled spray.

3. I used different stamps to make the background more interesting.
4. After that I cut butterflies using Card Phrases Set #2 and glued them with decoupage glue.

5. I cut the letters using Inside Out die and glued them. Then I painted butterflies and letters with yellow acrylic paint. After they dried I outline letters and butterflies with a black permanent marker.

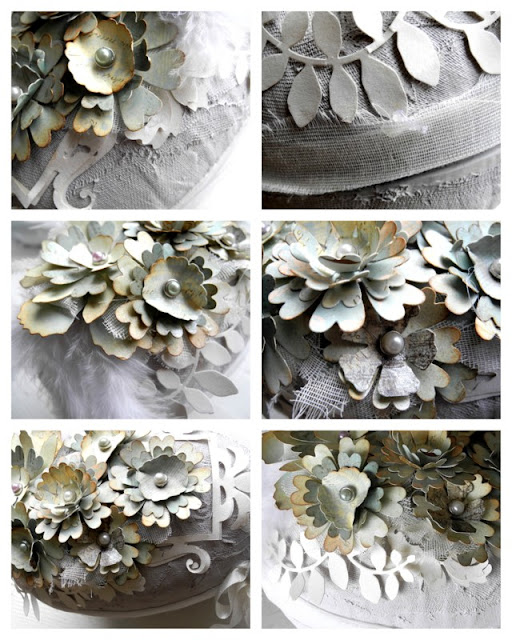
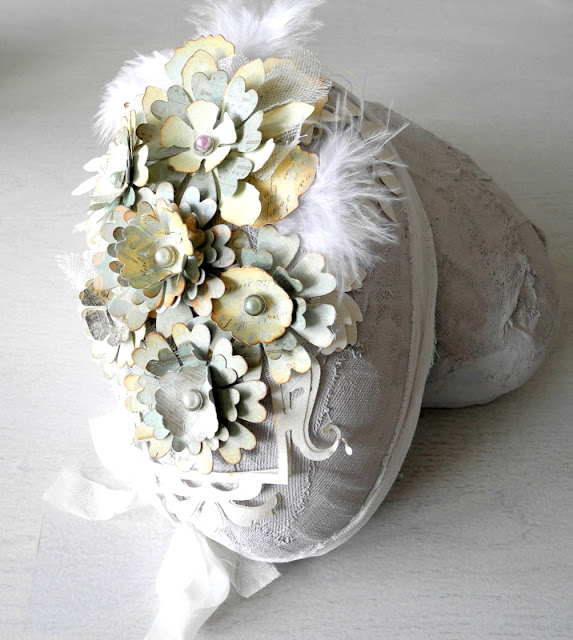
6. And the last step. I added a small details using stamps, rub-ons, crystals and glitter. Collage is ready. It will be the cover of my small notebook.


See you next Wednesday
Daria.
Всем привет!
Я обожаю создавать микс-медиа проекты. Они дают простор для творчества и воображения. И сегодня я хочу показать вам небольшой коллаж.
Материалы:
Big Shot Machine (655268)
Перманентный маркер - черный
Спрей Smooch Spritz - Splash
Натирки
Акриловая краска - желтая
Стразы - зеленые
Декупажный клей
Различные штампы и бумага
2. С помощью валика я нанесла желтую акриловую краску и после ее высыхания побрызгала спреем.
3. Затем я воспользовалась различными штампами, чтобы сделать фон более интересным.
4. После этого я вырезала бабочек с помощью набора ножей Card Phrases Set #2 и приклеила их с помощью декупажного клея.
5. Я вырезала буквы с помощью ножа InsideOutи приклеила их. Затем покрасила бабочек и буквы желтой акриловой краской, после чего обвела их черным маркером и помазала глиттером.
6. И последний этап, я добавила немного деталек с помощью штампов, натирок и страз. Коллаж готов. И это будет обложка для моего блокнотика.
Хорошего дня!
Дарья.


")
")
")
")


")
")
")